



Streamlining ETL (Part 2) – Building AWS Glue Connections and ETL Pipelines for Snowflake

Introduction
In Part 1, we focused on securely setting up the AWS Glue and Snowflake integration, including IAM roles, and Secrets Manager. Now it’s time to move towards the core functionality—building the actual ETL pipeline using AWS Glue Studio and connecting it to Snowflake!
This blog will cover:
- Creating a secure AWS Glue connection to Snowflake.
- Building an end-to-end ETL job using Glue Studio.
- Applying data transformations (mapping, type conversions).
Create AWS Glue Connection to Snowflake
- Go to AWS Glue > Data Catalog > Connections > Create Connection.
- Select Snowflake as your data source.
- Click Next
- Now For Host and Port in connection, go to your snowflake and run command
- Use role AccountAdmin;
- SELECT SYSTEM$ALLOWLIST();
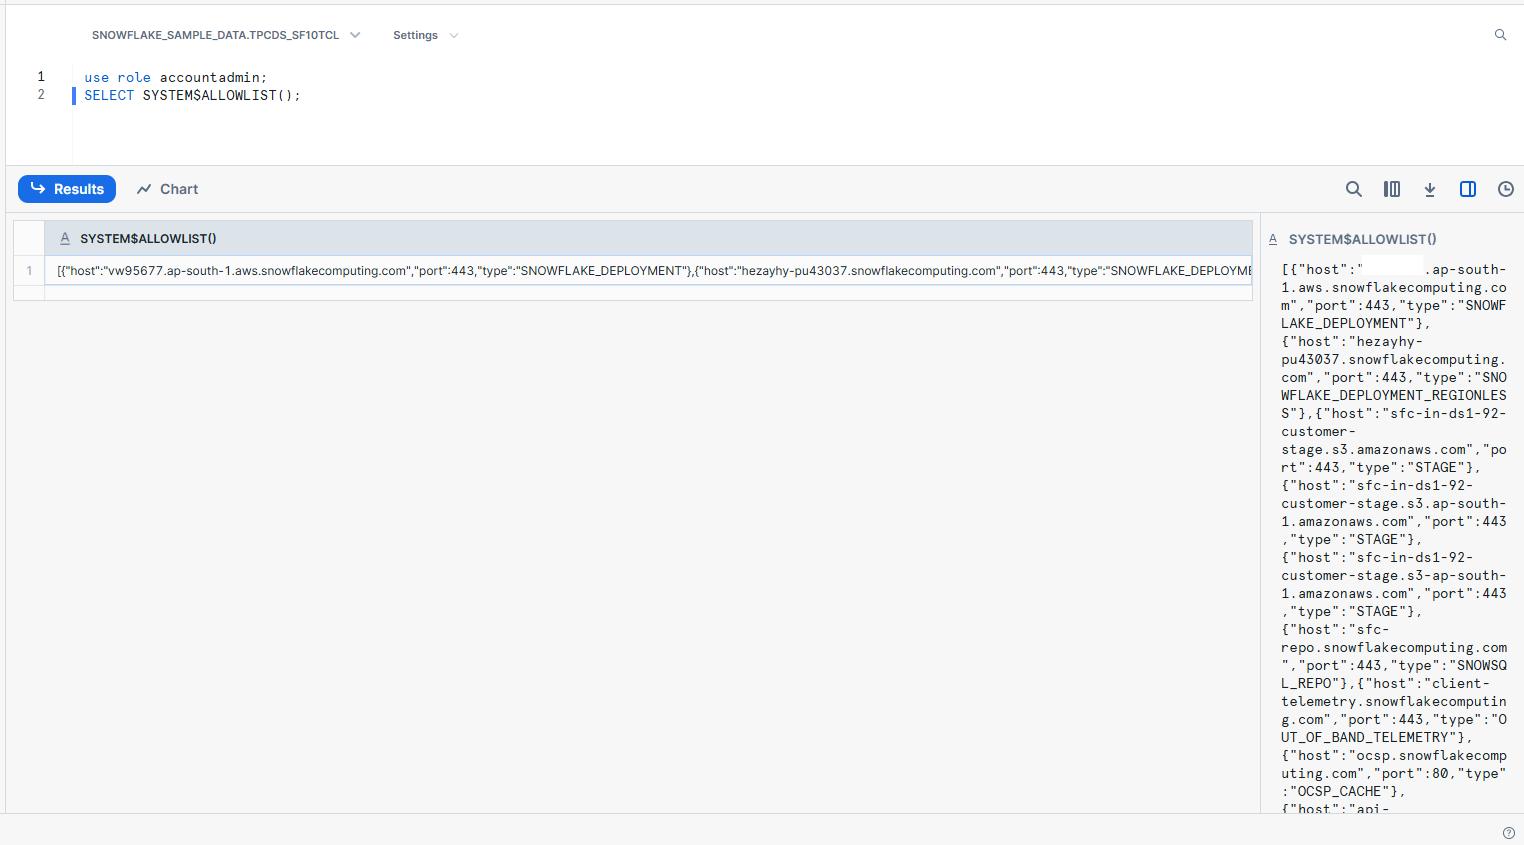
The code first link in the dialog is the Host and Port 443 is also given.
- Add Host and Port here.
- Select the IAM Role created in Part 1.
- Select the secret created in Part 1.
- Click Test Connection, if success than click next, verify your snowflake credentials.
- Provide a name to connection.
- Review and Create Connection.
Build a Visual Glue Job
Why Visual ETL in AWS Glue Studio?
AWS Glue Studio simplifies ETL development using a drag-and-drop interface while still allowing custom code injections via auto-generated PySpark scripts. It’s ideal for:
- Data Engineers who prefer no-code/low-code workflows.
- Teams seeking faster pipeline prototyping.
- Anyone who wants the flexibility of switching between visual + code-based ETL.
Steps
- 1Go to AWS Glue > ETL jobs > Visual ETL.
- 2Select S3 as a Source, Apply Mapping node for data transformation, and than select target snowflake.
- 3Now we will start configuring all three nodes.
Data Source – S3 Bucket
- Provide the s3 URL for the file we want from s3 to be pushed to snowflake.
- Provide format as csv.
- In left, select the IAM role created in part 1.
- After selecting the IAM role it will automatically start reading the file and will start to display some rows of data.
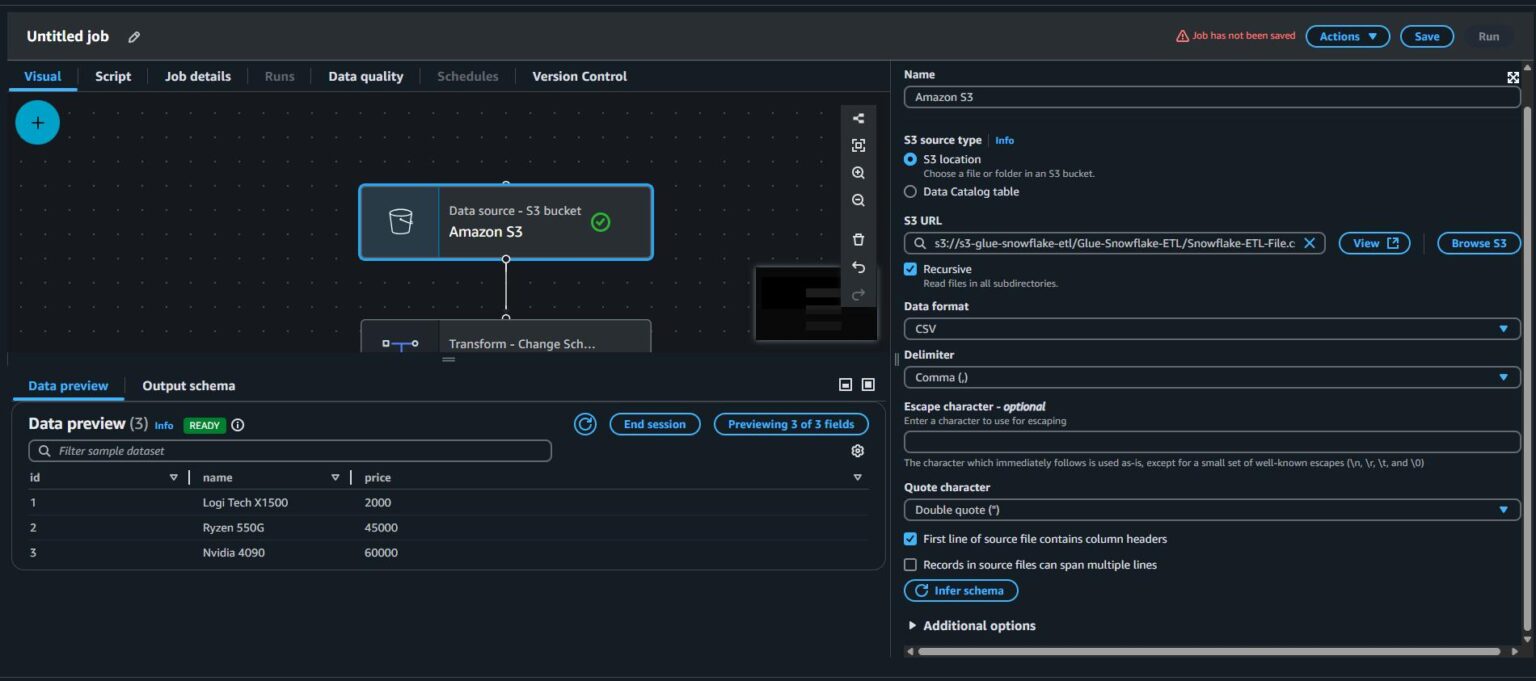
Transform – Change Schema
This step displays all the columns from the source file along with their inferred data types, and also allows you to modify these data types before loading the data into the target database.
Like initially all three types were string.
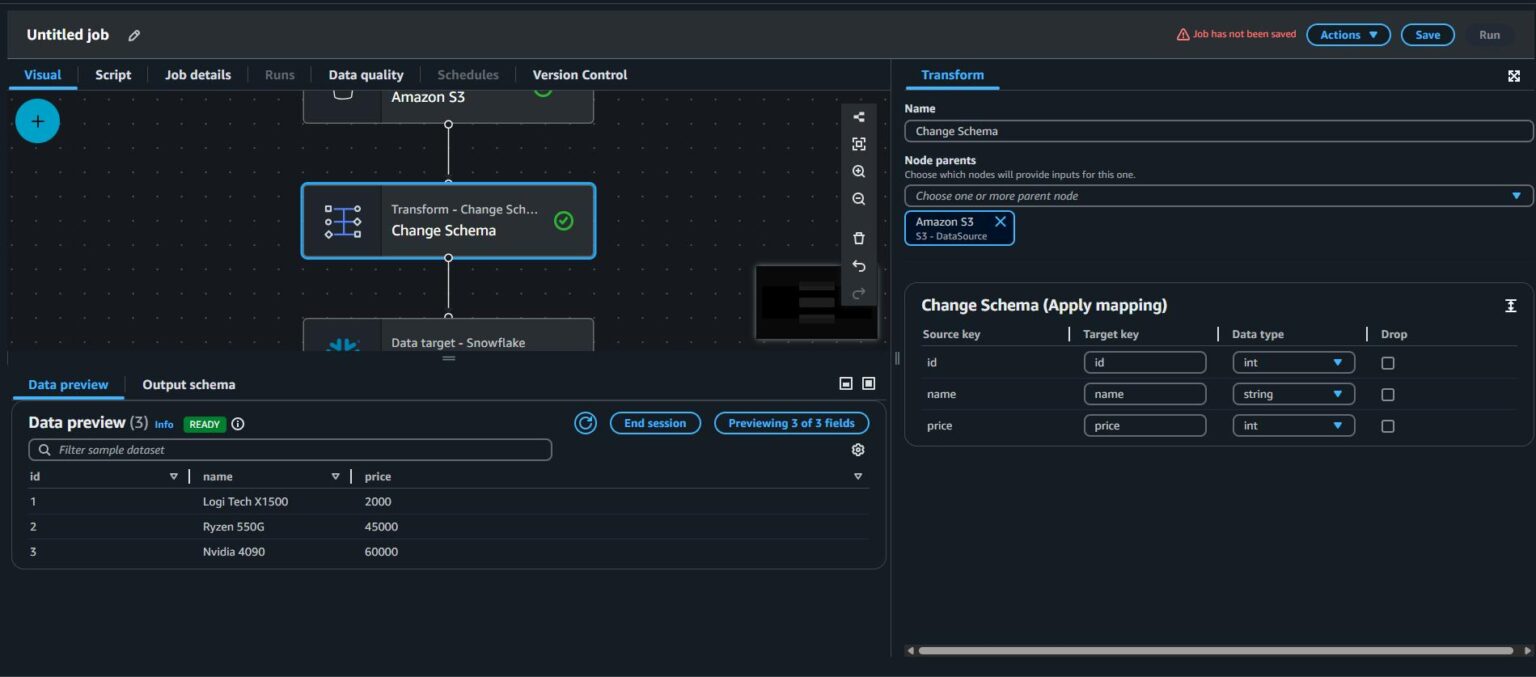
I updated the schema for id and price, changed the data type to int.
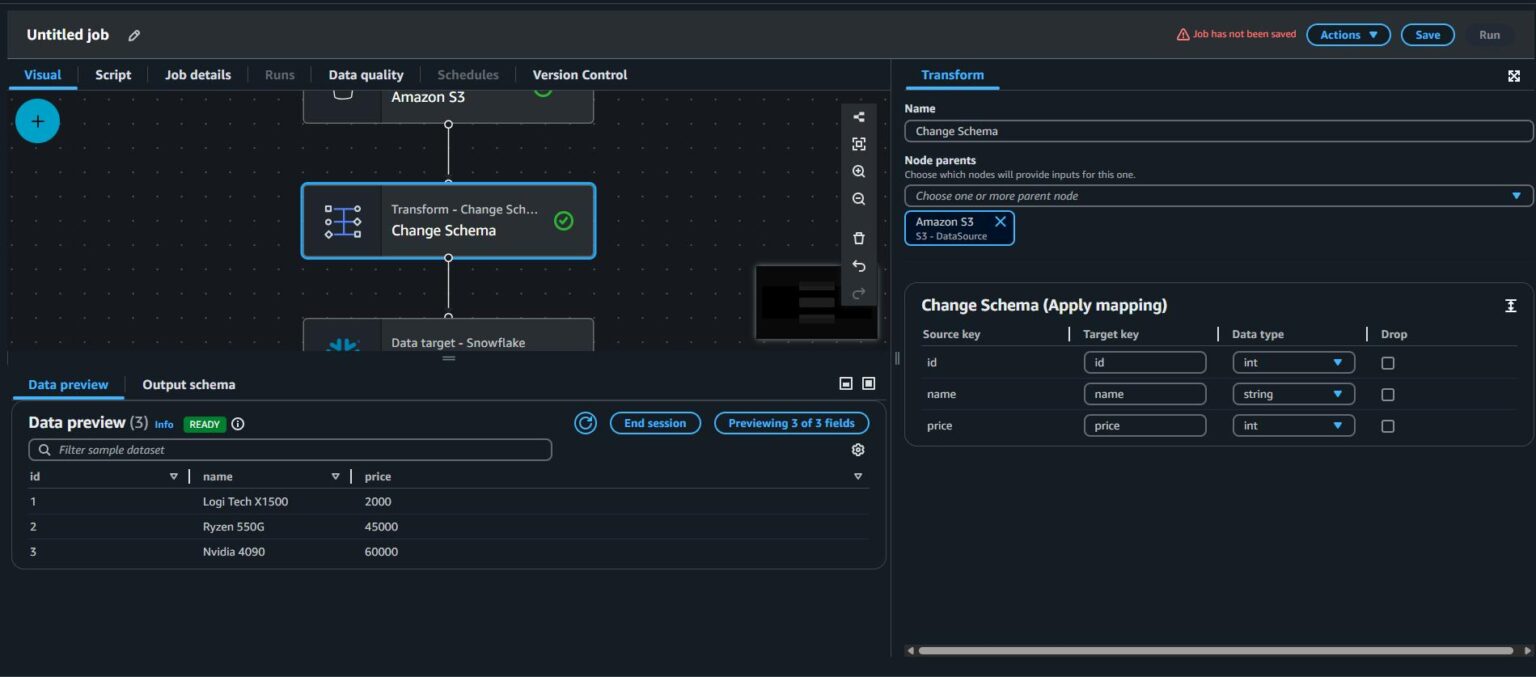
Snowflake Database Setup
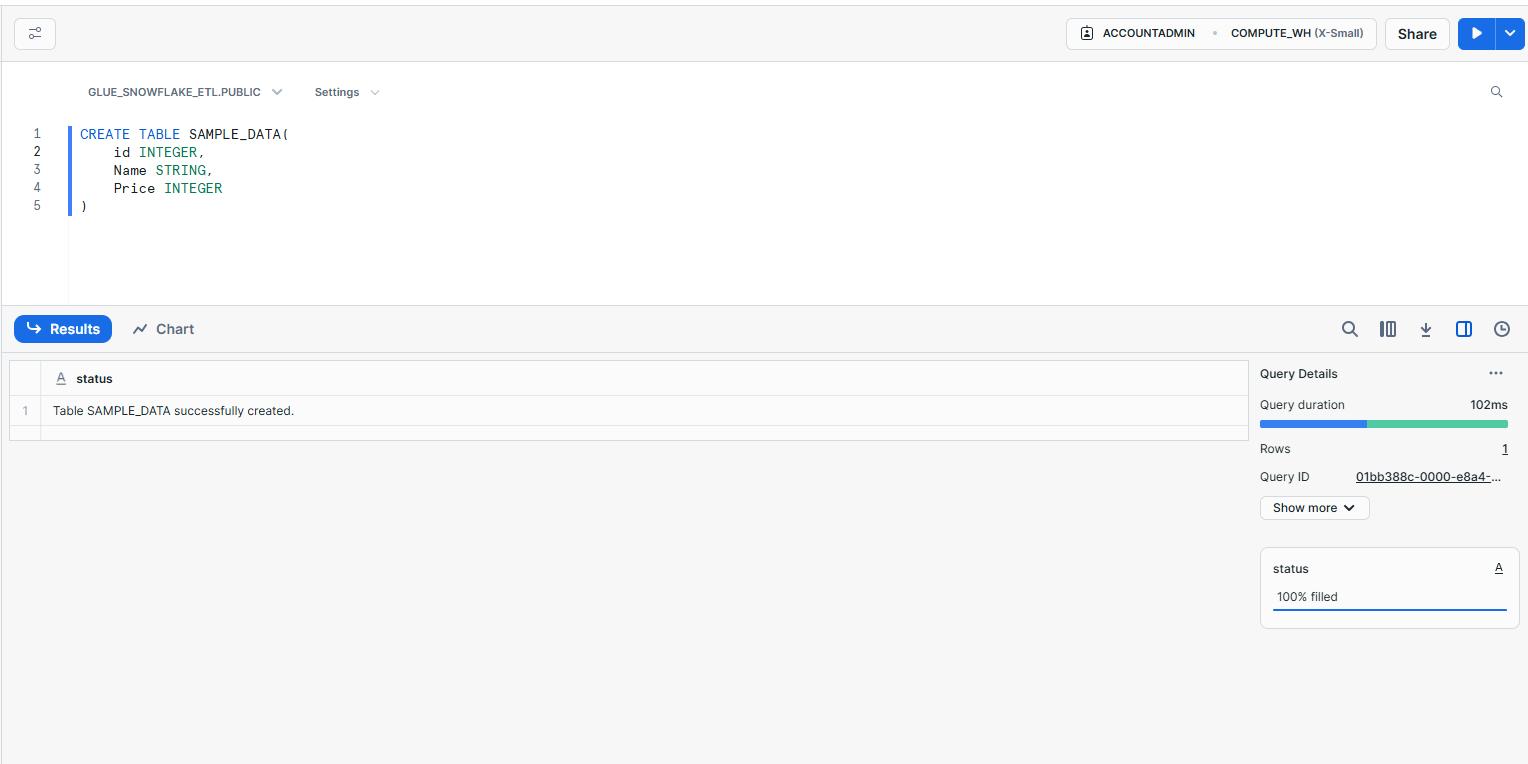
- Now go to your snowflake and create a table in a database with the definition of the data.
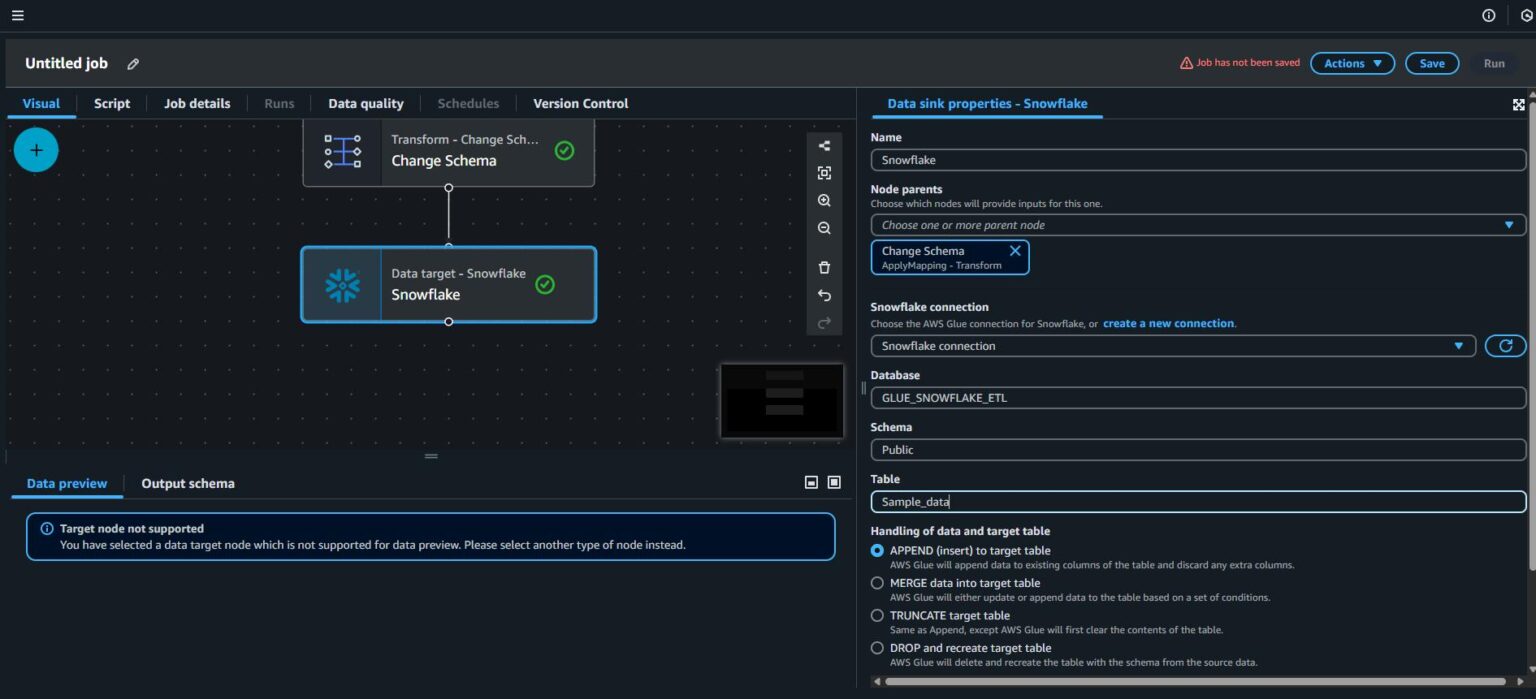
Data target- Snowflake node
- Select the snowflake connection made in the previous step.
- Enter the name of your database, schema, and table in snowflake.
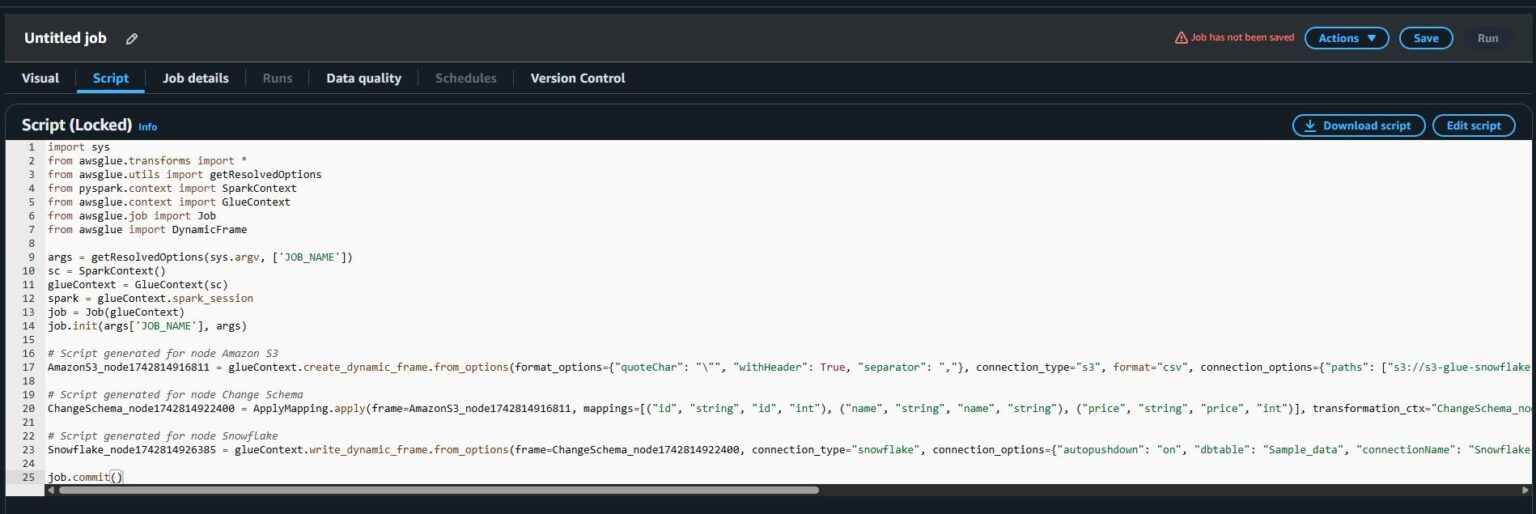
Review & Edit Auto-Generated Python (PySpark) Script
Click on “Script” tab to view your auto-generated Glue script.
Customizing the Script (Optional)
For more advanced use cases, you can:
- Add data cleansing logic (e.g., removing nulls).
- Insert conditional logic (e.g., only load data where price > 0).
- Integrate custom logging using AWS CloudWatch or external monitoring tools.
Saving and Running
- Give a name to a job and save the job.
- Now run the job.
- Go to AWS Glue > ETL Jobs > Job run monitoring
- View your job running.
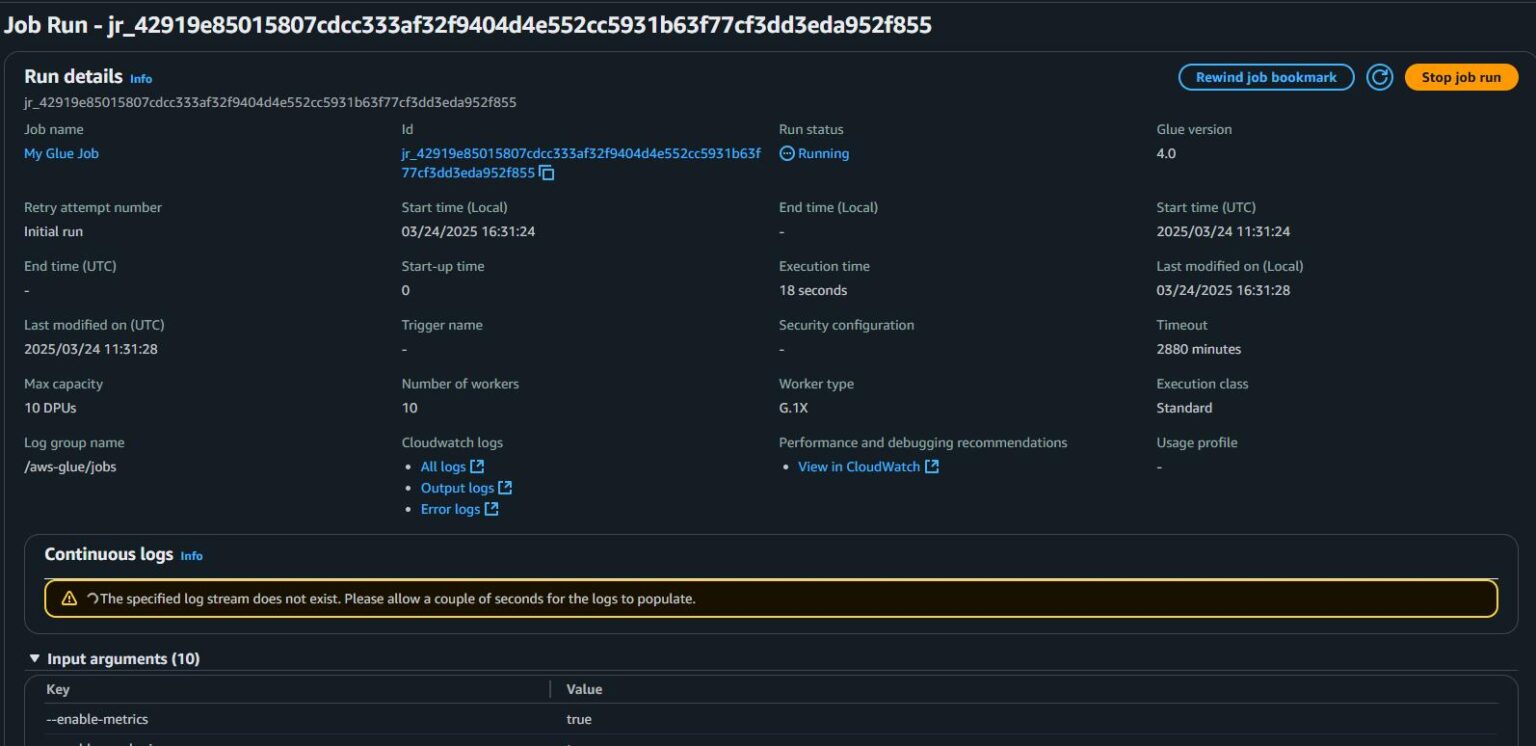
Verification
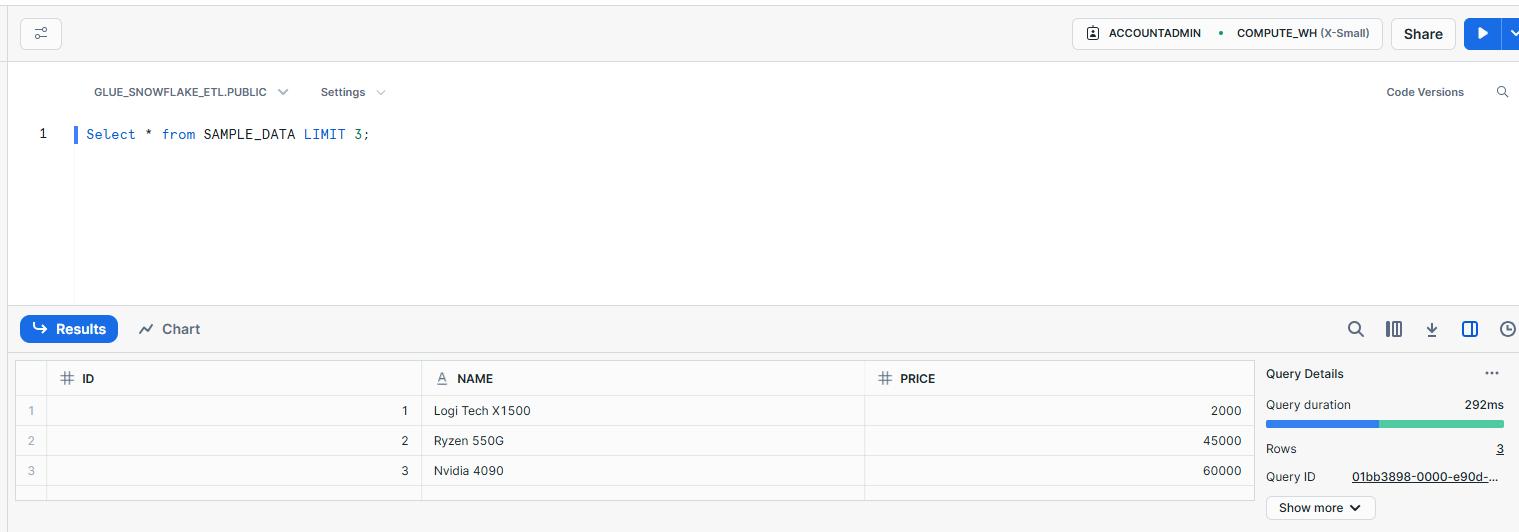
- Once your job completes successfully, switch to Snowflake and query your table. You should see the ingested records from S3!
Conclusion
In this two-part series, we walked through the complete journey of securely integrating AWS Glue with Snowflake to build a scalable and production-ready ETL pipeline.
In Part 1, we focused on laying the groundwork. We discussed why each prerequisite is critical, including the role of IAM for enforcing least privilege access, and the significance of AWS Secrets Manager for secure credential management. These foundational steps ensure that your pipeline is not only functional but also aligned with security and governance best practices.
In Part 2, we brought everything together to create the actual Glue ETL job. Leveraging the IAM role and securely stored Snowflake credentials from Part 1, we established a Glue connection to Snowflake. From there, we designed a visual ETL job, configured our S3 source and Snowflake target, applied schema mappings, and customized Glue-generated PySpark scripts for flexibility.
By combining strong upfront setup (IAM, Secrets) with proper Glue job design, you’ve now built a secure, automated, and production-ready pipeline capable of transferring and transforming data seamlessly between AWS and Snowflake.

AWS Migration Checklist: A Practical Roadmap for Modern Businesses
Migrating businesses to AWS offers many benefits, including cost optimization, improved security, and greater scalability. However, a successful migration requires careful planning and execution. Otherwise, organizations may experience...
Read More
Agentic AI for QA & Software Testing with MCP Servers
For years, QA engineers have relied heavily on manual testing, repetitive validation, documentation, and traditional automation scripts But now, a new era of testing...
Read More
Our Proven Web Development Process That Delivers Real Results
In software development, success does not come from coding alone. Real results come from understanding business needs, planning the right workflow, building user-friendly designs...
Read More_16_11zon.webp&w=3840&q=100)
Secure AWS Connectivity Using AWS Systems Manager (SSM)
In traditional cloud architectures, secure access to private resources such as databases and internal servers often relies on...
Read More
Building a Secure Multi-Account AWS Architecture for Enterprise Environments (Dev, STG, UAT, Prod)
In today’s cloud-first world, scalability and speed are no longer enough security, governance, and cost control are equally critical...
Read More
Why You Should Use AI Agents Over Single Prompts: Unlocking the Power of Adaptive AI for Complex Workflows
In the world of artificial intelligence (AI), one of the biggest advancements has been the rise of AI agents that adapt dynamically to real-time data and complex workflows...
Read More_13_11zon.webp&w=3840&q=100)
Production Ready ( Quality, performance, and the lessons learned shipping to 150 stores )
We chose dbt over custom scripts, built observability, optimized performance, and shipped to production...
Read More_12_11zon.webp&w=3840&q=100)
Scaling from 15 to 150 Stores ( When copy-paste becomes technical debt, macros become salvation )
We built a pipeline with observability, incremental models for performance, and snapshots for history. Our 15-store deployment ran smoothly...
Read More_11_11zon.webp&w=3840&q=100)
Keeping Your Data Fresh: ( The wake-up call at 3am that taught us about observability )
That morning taught us a crucial lesson: a successful dbt run doesn't mean your data is fresh, accurate, or complete. You need observability.
Read MoreReady to Work With Us?
Most engagements start with a 20-minute conversation. No pitch, no pressure - just an honest discussion about what you're building and whether we're the right fit.