A Guide to Seamlessly Connecting PostgreSQL with Spring Boot

Got a project?
Let's discuss your project
Introduction
In the realm of web development, databases serve as the bedrock of our applications. Among the various database systems, PostgreSQL stands out as a reliable and feature-rich choice. In this guide, we will explore the process of connecting PostgreSQL with Spring Boot, a popular framework for Java-based applications. By the end of this journey, you’ll be well-equipped to create robust, database-driven applications.
Prerequisites
Before we begin, ensure you have the following essentials:
- Java (preferably JDK 17) installed.
- Set up a Spring Boot project; you can use Spring Initializer for this purpose.
- PostgreSQL installed.
- A database created; you can use PgAdmin, PostgreSQL’s GUI interface.
- An IDE to run the application; preferably IntelliJ IDEA.
Steps to Establish a Connection:
Step 1: Adding PostgreSQL Dependency
Our first step towards PostgreSQL-Spring Boot integration involves adding the PostgreSQL JDBC driver to your project. Open your project’s pom.xml file and introduce this dependency:
<dependency><groupId>org.postgresql</groupId><artifactId>postgresql</artifactId><version>42.6.0</version> <!-- Always use the latest version --></dependency>
This dependency serves as the crucial link enabling communication between your Spring Boot application and the PostgreSQL database.
Step 2: Configuration in Application Properties
To establish database connections, Spring Boot relies on configuration properties. In your application.properties or application.yml file, furnish the necessary PostgreSQL connection properties:
application.properties:
spring.datasource.url=jdbc:postgresql://localhost:5432/mydatabasespring.datasource.username=db_usernamespring.datasource.password=db_passwordspring.datasource.driver-class-name=org.postgresql.Driver
application.yml:
spring:datasource:url: jdbc:postgresql://localhost:5432/mydatabaseusername: db_usernamepassword: db_passworddriver-class-name: org.postgresql.Driver
Replace mydatabase with your PostgreSQL database name.
Let's Build Something Great Together
Ready to transform your idea into a powerful software solution? Talk to our experts and get a free consultation.
Contact Us
Set db_username and db_password to your PostgreSQL credentials.
Step 3: Creating a Data Entity
In Spring Boot applications, we often use the Java Persistence API (JPA) to interact with databases. Create an entity class that represents a table in your PostgreSQL database. Here’s an example:
@Entity@Table(name = "users")public class User {@Id@GeneratedValue(strategy = GenerationType.IDENTITY)private Long id;private String username;private String email;// Getter and setter methods}
This entity class maps directly to a “users” table in your PostgreSQL database.
Step 4: Developing a Repository
Next, design a repository interface that extends JpaRepository. This interface facilitates CRUD (Create, Read, Update, Delete) operations on your entity. For our “User” entity, it might look like this:
public interface UserRepository extends JpaRepository<User, Long> {// Define custom query methods if needed}
Spring Data JPA automatically generates the required database queries based on method names.
Step 5: Building a Service
Create a service class that interacts with the repository, providing the application’s business logic. Here’s a straightforward example:
@Servicepublic class UserService {@Autowiredprivate UserRepository userRepository;public List<User> getAllUsers() {return userRepository.findAll();}public User createUser(User user) {return userRepository.save(user);}// Include additional service methods as required}
Step 6: Establishing REST Endpoints
To make your service methods accessible via HTTP requests, employ Spring Web to design a controller. Map HTTP requests to service methods like this:
@RestController@RequestMapping("/api/users")public class UserController {@Autowiredprivate UserService userService;@GetMappingpublic List<User> getAllUsers() {return userService.getAllUsers();}@PostMappingpublic User createUser(@RequestBody User user) {return userService.createUser(user);}// Add more endpoints as necessary}
Step 7: Running Your Application
With all components in place, run your Spring Boot application. It should seamlessly connect to your PostgreSQL database using the provided configuration.
Conclusion
Integrating PostgreSQL with Spring Boot is a crucial step toward creating powerful, data-driven applications. This guide has walked you through adding PostgreSQL as a data source, configuring the connection, defining entities, repositories, services, and REST endpoints. From this foundation, you can expand to construct influential Spring Boot applications that leverage PostgreSQL’s capabilities for data storage and retrieval.
From ETL to ELT: The Evolution of Data Pipelines in Modern Analytics
How and why data pipeline architecture evolved from ETL to ELT.
Read More
Bridge View Hybrid: A Smarter Path to Bringing Web Apps to Mobile
Learn how the Bridge View Hybrid architecture uses a React Native shell and WebView to launch iOS and Android apps faster, cheaper, and with less risk.
Read More
10 AI Prompts Every Manual Tester Should Have in Their QA Toolkit
Discover 10 practical AI prompts manual testers can use to improve test coverage, find edge cases, analyze bugs, strengthen regression testing, and become more effective QA engineers.
Read More
The Website Accessibility Revolution: Why You Can't Afford to Ignore WCAG 2.2
Website accessibility starts with WCAG 2.2. Learn how accessible design, development, QA, and testing can help create websites that work for everyone.
Read More
Race Conditions in Web Applications: Why Correct Code Produces Wrong Results
Race conditions silently corrupt data when concurrent requests touch shared state at the wrong time. Learn how atomic updates, transactions, idempotency, and locking keep your application correct under real concurrency.
Read More
AI Writes the Code • Stop Blindly Shipping It Without Reviewing the Engineering
A practical perspective on AI-generated code, scalability, maintainability, and engineering judgment and why engineering review still owns the final decision.
Read More
Migrating Databases with AWS DMS With Nearly Zero Downtime
Learn how to migrate databases using AWS DMS with nearly zero downtime using Full Load, CDC, validation, monitoring, and controlled cutover.
Read More
How to Add LiveKit Video Calling to a Next.js App
Add embedded video & audio calling to Next.js with LiveKit Cloud. Compared vs Twilio, Daily, Agora, Zoom — plus token auth, guests & recording.
Read More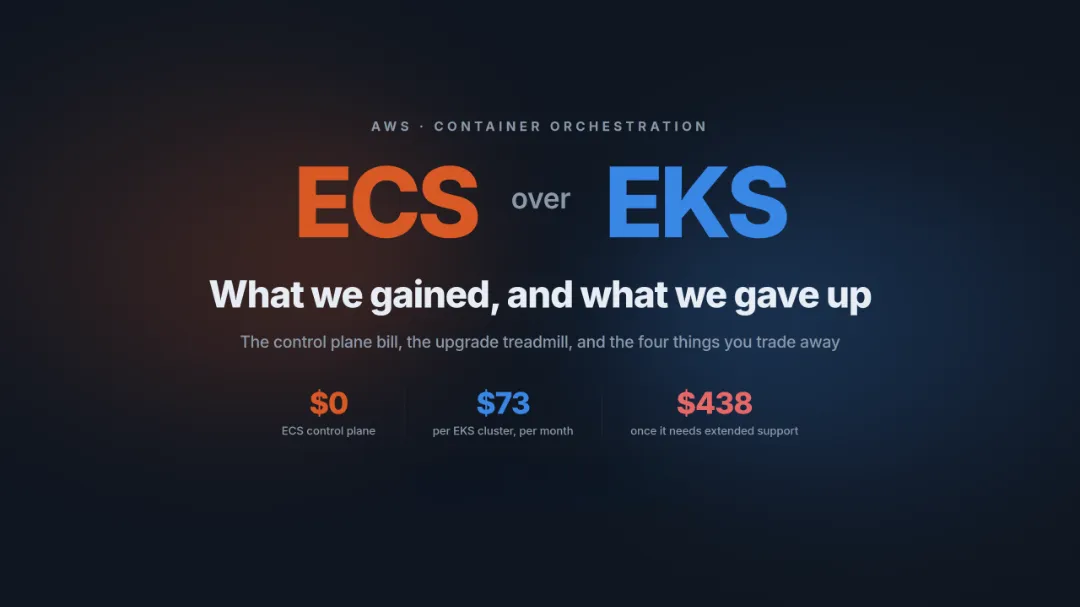
We chose ECS over EKS: what we gained and what we gave up
An honest comparison of ECS vs EKS the costs, tradeoffs, and real-world reasoning behind choosing ECS for a production platform on AWS.
Read More