
Dagster For Data Orchestration

Got a project?
Let's discuss your project
Introduction to ETLs and Orchestration
In today’s data-driven world, businesses need a structured approach to managing and processing vast amounts of data. This is where ETL (Extract, Transform, Load) processes come into play. ETL helps organizations systematically collect, refine, and store data for further analysis and decision-making.
- Data is retrieved from various sources, including relational databases, APIs, flat files, and cloud storage systems like AWS S3 or Google Cloud Storage.
- The extracted raw data undergoes cleansing, validation, and formatting to meet the required standards. This step may include filtering unwanted data, aggregating information, or applying business rules.
- The transformed data is then loaded into a target data warehouse, data lake, or database for further analytics, reporting, or machine learning applications.
It’s important to understand that ETL is the process, while data orchestration refers to the coordination and automation of that process. Orchestration tools like Dagster help ensure that the steps of an ETL workflow are:
- Executed in the correct order with dependencies handled properly.
- Automatically retried or flagged when failures occur.
- Observable, testable, and easy to debug.
So while ETL defines what needs to happen with the data, orchestration defines how and when it happens, particularly at scale and across many interconnected steps. That’s why we chose Dagster for our ETL workflows it provides robust orchestration capabilities tailored to data engineering.
Why Use Dagster?
Dagster is an open-source data orchestrator designed to simplify and automate ETL workflows. It provides a structured approach to defining data pipelines and managing dependencies between tasks. Here are some key reasons why Dagster stands out:
Let's Build Something Great Together
Ready to transform your idea into a powerful software solution? Talk to our experts and get a free consultation.
Contact Us
- No more running scripts manually. Dagster automates the execution of each step in the workflow.
- Built-in tools allow you to track the execution status of every step, visualize logs, and debug failures effectively.
- Dagster seamlessly integrates with cloud services like AWS, Google Cloud, and Snowflake, making it ideal for processing large datasets.
- Define assets as independent units that can be reused in multiple workflows. For example, the same transformation logic can be applied to multiple datasets without redundant coding.
Setting Up Dagster
1. Setup a virtual environment
- python -m venv dagster-env
- source dagster-env/bin/activate # On Windows, use `dagster-env\Scripts\activate`
2. Install Dagster
- pip install dagster dagster-webserver pandas
3. Run dagster
- Run dagster ui by “dagster dev”
The Example Pipeline
Our pipeline covers:
- 1Fetching a CSV file from AWS S3.
- 2Processing raw data and generating summary.
- 3Loading the data into Snowflake.
1. Setting Up Resources
Resources in Dagster represent external dependencies like databases or cloud storage. Below is the resource setup for AWS S3 and Snowflake.
1from dagster import resource2import os34@resource5def s3_resource(_):6 import boto37 return boto3.client(8 "s3",9 aws_access_key_id=os.getenv("YOUR_AWS_ACCESS_KEY"),10 aws_secret_access_key=os.getenv("YOUR_AWS_SECRET_KEY"),11 region_name="ap-south-1",12 )1314@resource15def snowflake_resource():16 from dagster_snowflake import snowflake_resource17 return snowflake_resource.configured({18 "account": os.getenv("SNOWFLAKE_ACCOUNT"),19 "user": os.getenv("SNOWFLAKE_USER"),20 "password": os.getenv("SNOWFLAKE_PASSWORD"),21 "database": "FitnessApp",22 "warehouse": "COMPUTE_WH",23 "schema": "PUBLIC",24 })
2. Fetching Data from S3
This step involves downloading a CSV file from an S3 bucket and loading it into a Pandas DataFrame for further processing. Metadata logging ensures visibility into the process.
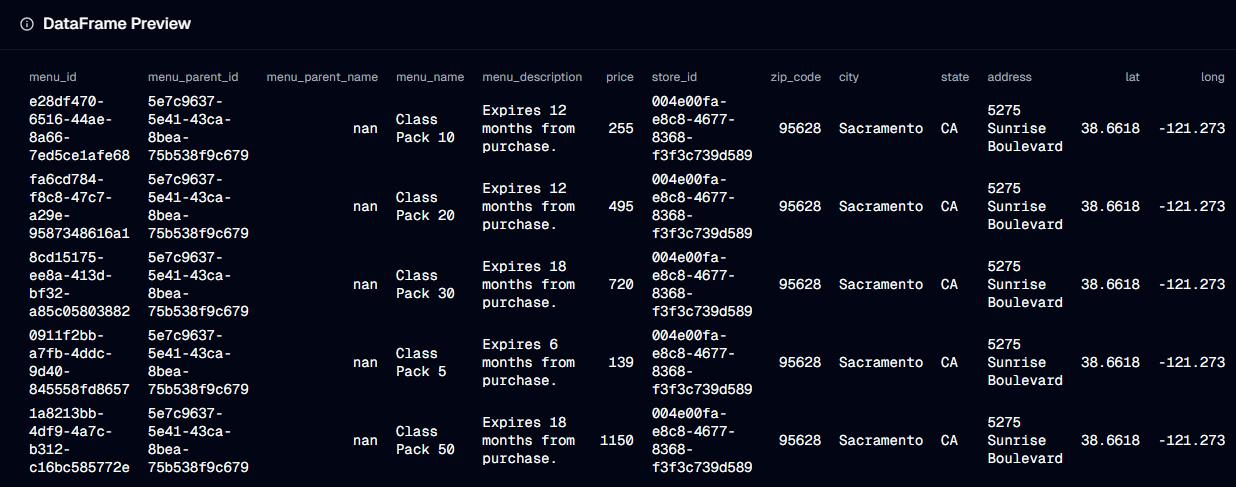
1from dagster import resource2import os34@asset(required_resource_keys={"s3"})56def fetch_csv_from_s3(context):7 import pandas as pd8 import io910 bucket = "s3-snow-lambda"11 key = "prices.csv"1213 response = context.resources.s3.get_object(Bucket=bucket, Key=key)14 csv_content = response["Body"].read().decode("utf-8")1516 data_frame = pd.read_csv(io.StringIO(csv_content))17 context.log.info(f"Fetched {len(data_frame)} rows from S3")18 context.add_output_metadata({19 "DataFrame Preview": MetadataValue.md(data_frame.head().to_markdown(index=False))20 })21 return data_frame
3. Processing the Data
After fetching the data, we add a new column called discounted_price by applying a 10% discount to an existing price column. This demonstrates simple data transformation.
1from dagster import resource2import os34@asset(required_resource_keys={"s3"})56def fetch_csv_from_s3(context):7 import pandas as pd8 import io910 bucket = "s3-snow-lambda"11 key = "prices.csv"1213 response = context.resources.s3.get_object(Bucket=bucket, Key=key)14 csv_content = response["Body"].read().decode("utf-8")1516 data_frame = pd.read_csv(io.StringIO(csv_content))17 context.log.info(f"Fetched {len(data_frame)} rows from S3")18 context.add_output_metadata({19 "DataFrame Preview": MetadataValue.md(data_frame.head().to_markdown(index=False))20 })21 return data_frame
4. Loading Data into Snowflake
The processed data is loaded into a Snowflake table. Temporary stages are used to manage file uploads efficiently.
1from dagster import resource2import os34@asset(required_resource_keys={"snowflake"})56def save_to_snowflake(context, process_data):7 import pandas as pd8 df = process_data910 temp_file_path = "temp_data.csv"11 df.to_csv(temp_file_path, index=False, header=False)1213 snowflake_stage = "TEMP_STAGE"14 snowflake_table = "PRICES"1516 try:17 with context.resources.snowflake.get_connection() as conn:18 cursor = conn.cursor()19 cursor.execute(f"CREATE OR REPLACE STAGE {snowflake_stage}")20 cursor.execute(f"PUT file://{temp_file_path} @{snowflake_stage}")21 cursor.execute(f"COPY INTO {snowflake_table} FROM @{snowflake_stage} FILE_FORMAT = (TYPE = 'CSV' FIELD_OPTIONALLY_ENCLOSED_BY='"');")22 cursor.execute(f"REMOVE @{snowflake_stage}")2324 context.log.info("Data successfully loaded into Snowflake.")25 except Exception as e:26 context.log.error(f"Failed to load data into Snowflake: {e}")27 raise28 finally:29 if os.path.exists(temp_file_path):30 os.remove(temp_file_path)
5. Definitions
Finally, we register resources and assets in Dagster.
1from dagster import Definitions23defs = Definitions(4 resources={"s3": s3_resource, "snowflake": snowflake_resource},5 assets=[fetch_csv_from_s3, process_data, save_to_snowflake],6)
Running Dagster Pipeline
Now, we can see the Global asset lineage in dagster ui running locally on port 3000
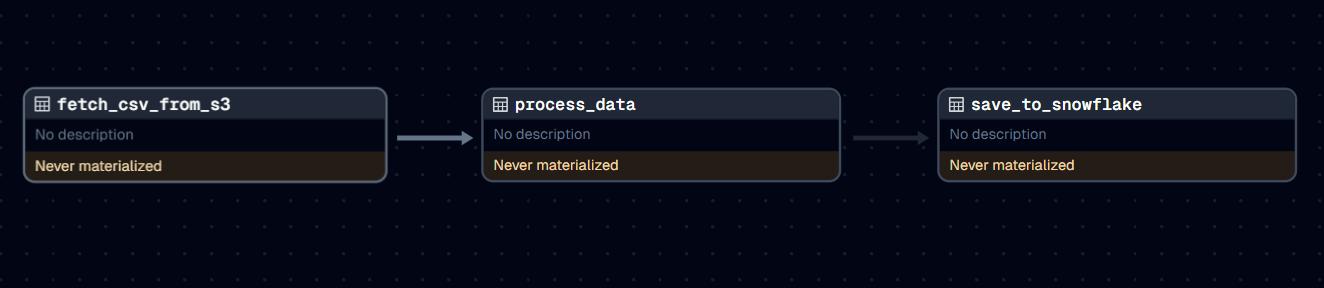
We can materialize an asset by running its job
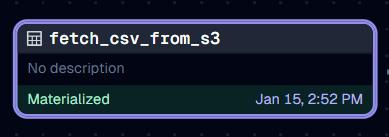
Our Asset is now materialized and now we can preview the data it has produced
Now lets materialize the Process Data asset
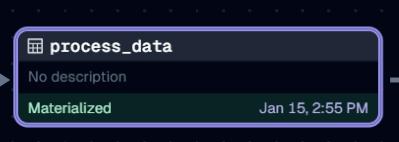
We can now view its meta data too to see the data it has produced
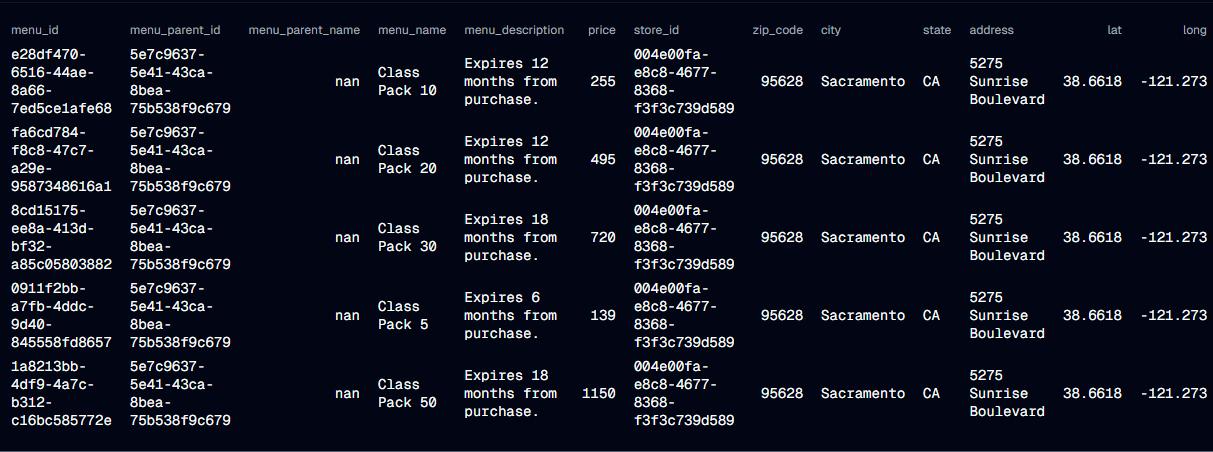
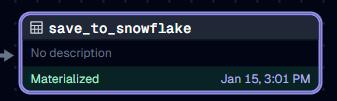
Now, lets move to our final step, which is inputting this transformed data into Snowflake database, lets run our snowflake asset
Now, we can verify our data in snowflake cloud
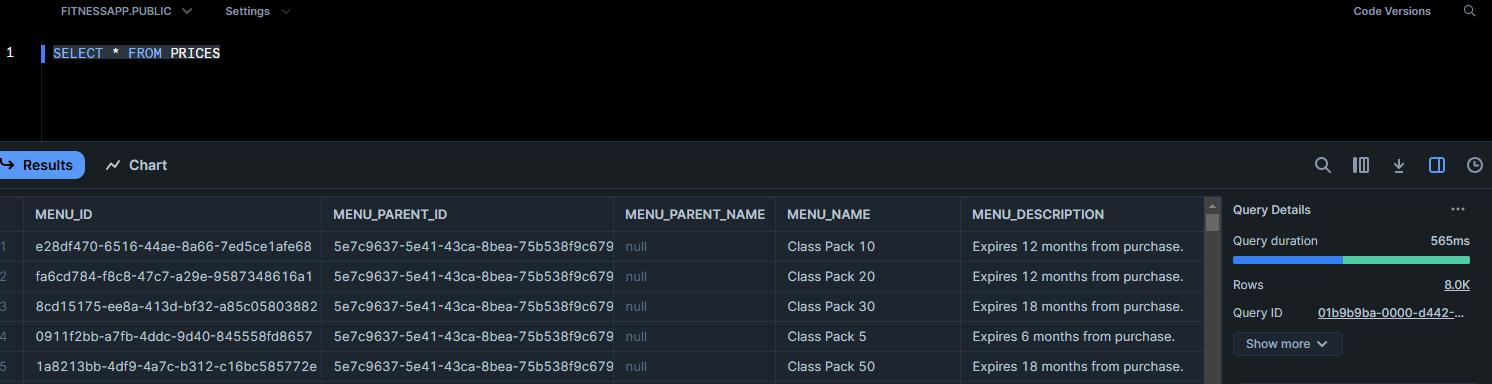
As we can see, our transformation and saving of data has been executed successfully.
Benefits of Using Dagster
- 1Each step in the pipeline is defined independently, making it reusable and testable.
- 2Dagster’s rich logging and metadata capabilities provide clear insights into pipeline execution.
- 3Seamlessly integrates with tools like AWS, Snowflake, and Pandas.
- 4Allows customization and configuration to meet specific pipeline requirements.
Conclusion
Dagster makes managing complex data pipelines intuitive and efficient. Whether you are working with cloud storage, databases, or data transformations, Dagster provides the tools and flexibility needed for modern data orchestration. Start building your pipelines today and experience the power of Dagster!
From ETL to ELT: The Evolution of Data Pipelines in Modern Analytics
How and why data pipeline architecture evolved from ETL to ELT.
Read More
Bridge View Hybrid: A Smarter Path to Bringing Web Apps to Mobile
Learn how the Bridge View Hybrid architecture uses a React Native shell and WebView to launch iOS and Android apps faster, cheaper, and with less risk.
Read More
10 AI Prompts Every Manual Tester Should Have in Their QA Toolkit
Discover 10 practical AI prompts manual testers can use to improve test coverage, find edge cases, analyze bugs, strengthen regression testing, and become more effective QA engineers.
Read More
The Website Accessibility Revolution: Why You Can't Afford to Ignore WCAG 2.2
Website accessibility starts with WCAG 2.2. Learn how accessible design, development, QA, and testing can help create websites that work for everyone.
Read More
Race Conditions in Web Applications: Why Correct Code Produces Wrong Results
Race conditions silently corrupt data when concurrent requests touch shared state at the wrong time. Learn how atomic updates, transactions, idempotency, and locking keep your application correct under real concurrency.
Read More
AI Writes the Code • Stop Blindly Shipping It Without Reviewing the Engineering
A practical perspective on AI-generated code, scalability, maintainability, and engineering judgment and why engineering review still owns the final decision.
Read More
Migrating Databases with AWS DMS With Nearly Zero Downtime
Learn how to migrate databases using AWS DMS with nearly zero downtime using Full Load, CDC, validation, monitoring, and controlled cutover.
Read More
How to Add LiveKit Video Calling to a Next.js App
Add embedded video & audio calling to Next.js with LiveKit Cloud. Compared vs Twilio, Daily, Agora, Zoom — plus token auth, guests & recording.
Read More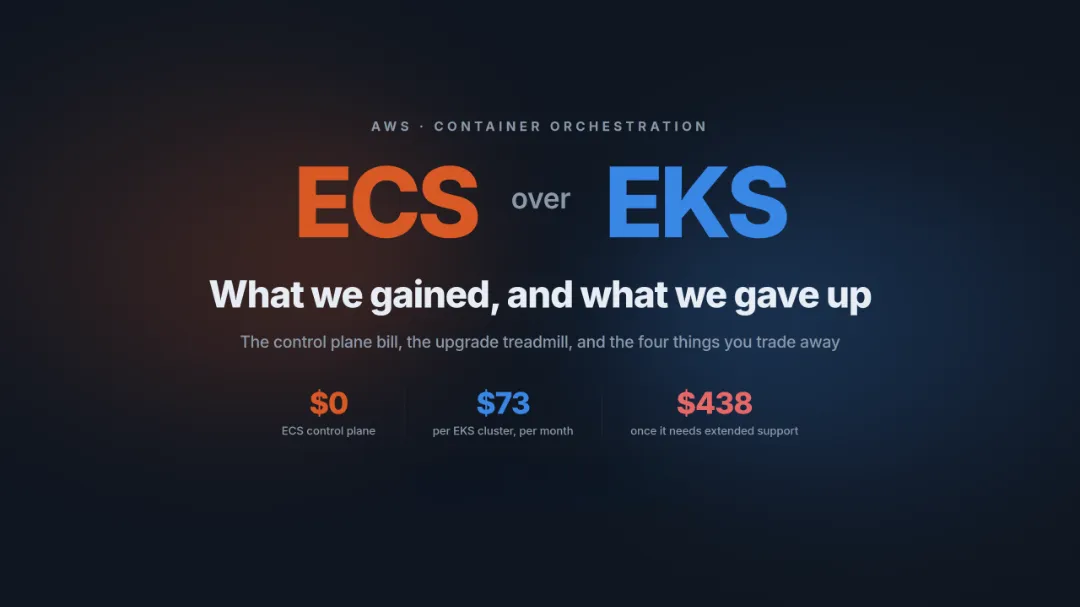
We chose ECS over EKS: what we gained and what we gave up
An honest comparison of ECS vs EKS the costs, tradeoffs, and real-world reasoning behind choosing ECS for a production platform on AWS.
Read More