Segmenting your audience in MailChimp for better reach

Introduction
Mailchimp is a popular email marketing platform that helps businesses manage their email lists, create newsletters, and track campaign performance. It is a versatile and user-friendly email marketing platform that can help businesses of all sizes improve their marketing efforts. It offers a range of features, including:
- Email builder: A drag-and-drop interface for creating visually appealing email templates.
- Subscriber management: Tools for organizing and managing your email list.
- Campaign tracking: Analytics to measure the success of your email campaigns.
- Automation: Automated workflows for sending emails based on specific triggers.
- Integrations: Connections with other marketing tools like e-commerce platforms and CRM systems.
Segmentation
Segmentation in Mailchimp is the process of breaking up your email list into more manageable, targeted groups according to factors such as engagement metrics, subscriber behavior, or demographics. By using this technique, you can customize your email marketing to appeal to various audience segments and make sure that each one gets information that best suits their requirements or interests. By increasing engagement rates, decreasing unsubscribe rates, and increasing the possibility that each targeted audience subgroup will find resonance in your communications, creating segments can help you increase the success of your email advertising efforts.
Segmentation is further divided into two parts.
Static Segmentation: These are fixed groupings that you manually form according to predetermined standards or characteristics. Until it is manually updated, a group that has been created remains intact.
Dynamic Segmentation: These are automatically updated based on real-time data or conditions. The segment changes automatically as subscribers meet or no longer meet the criteria.
Step by Step Guide to create Segmentation:
A segment of contacts who joined the audience after the most recent email was delivered will be created under one condition. Simple segments just have one condition; hence the outcomes are independent of the and/or logic.
1. After selecting Audience, select Segments.
2. Select the desired audience to work with by clicking the drop-down menu labeled “Current audience.”
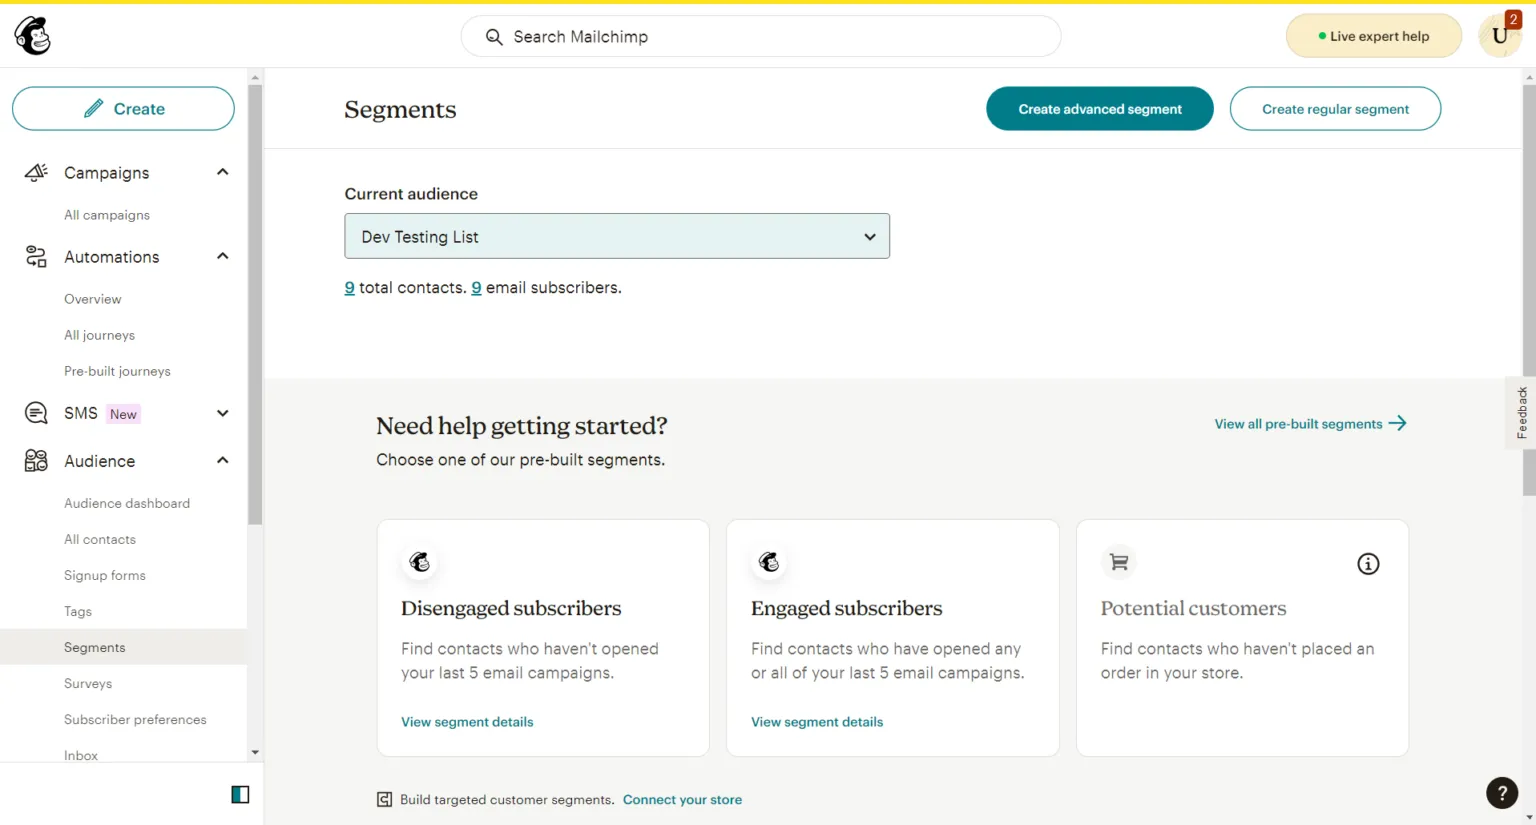
3. Make a regular segment.
4. To select your initial segmenting condition, use the Select or search a filter drop-down.
5. Click Email Date Added in the How your contacts were acquired section. (You may select or set multiple filters at a time)
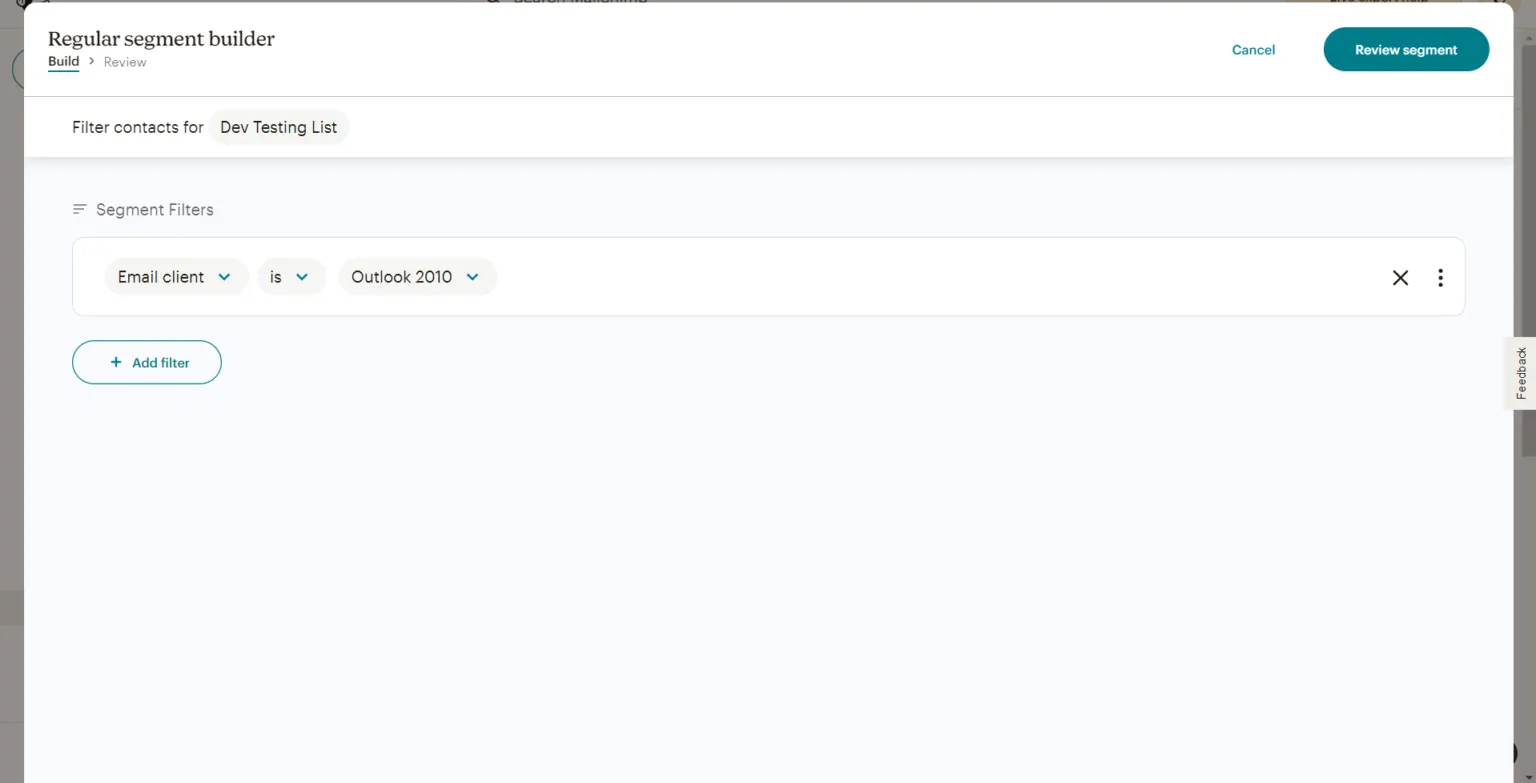
6. After that, click the most recent campaign that was sent.
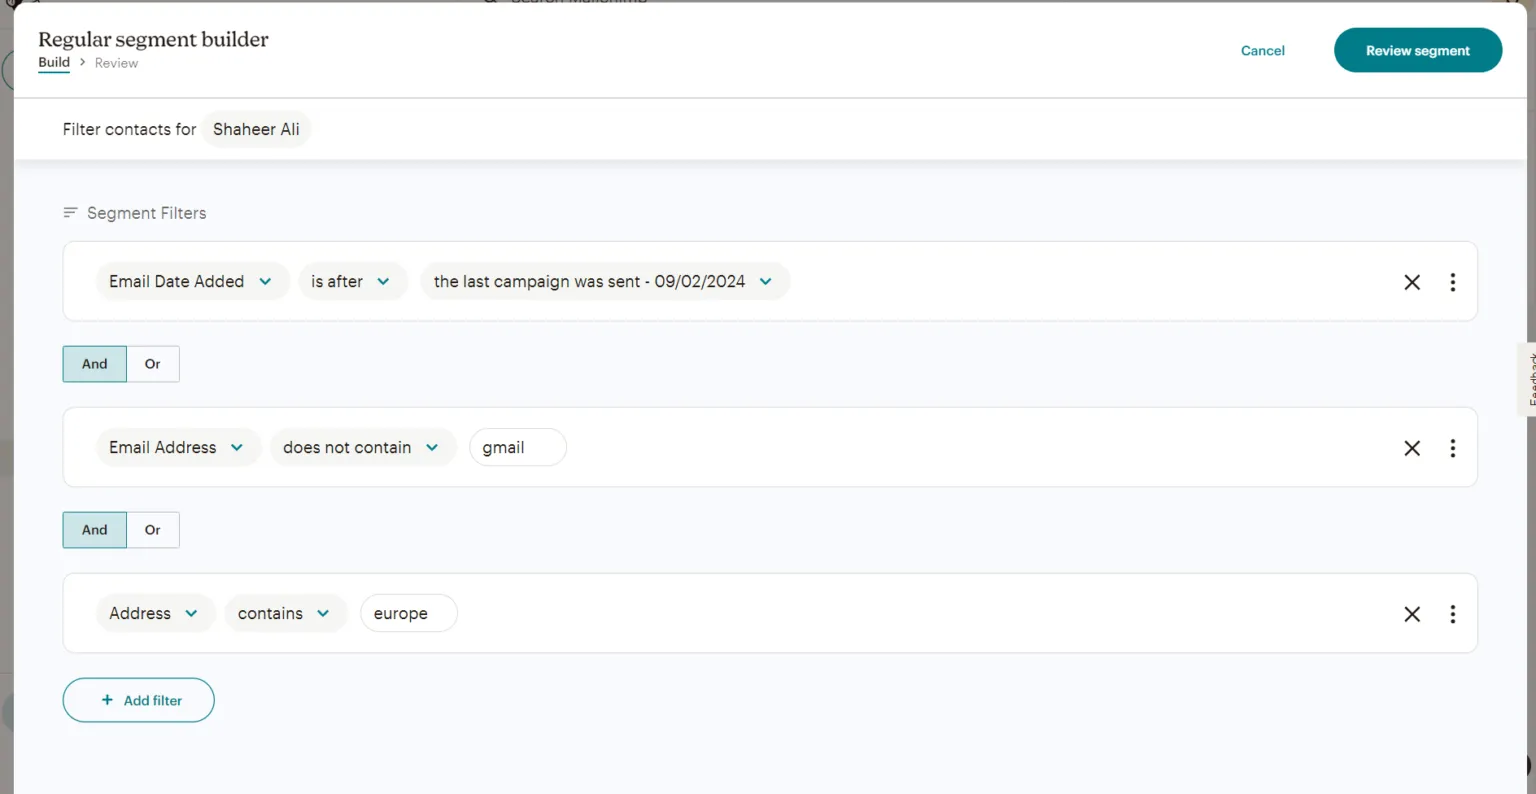
7. Select the segment to review.
8. In the Give your section a name field, give your segment a name.
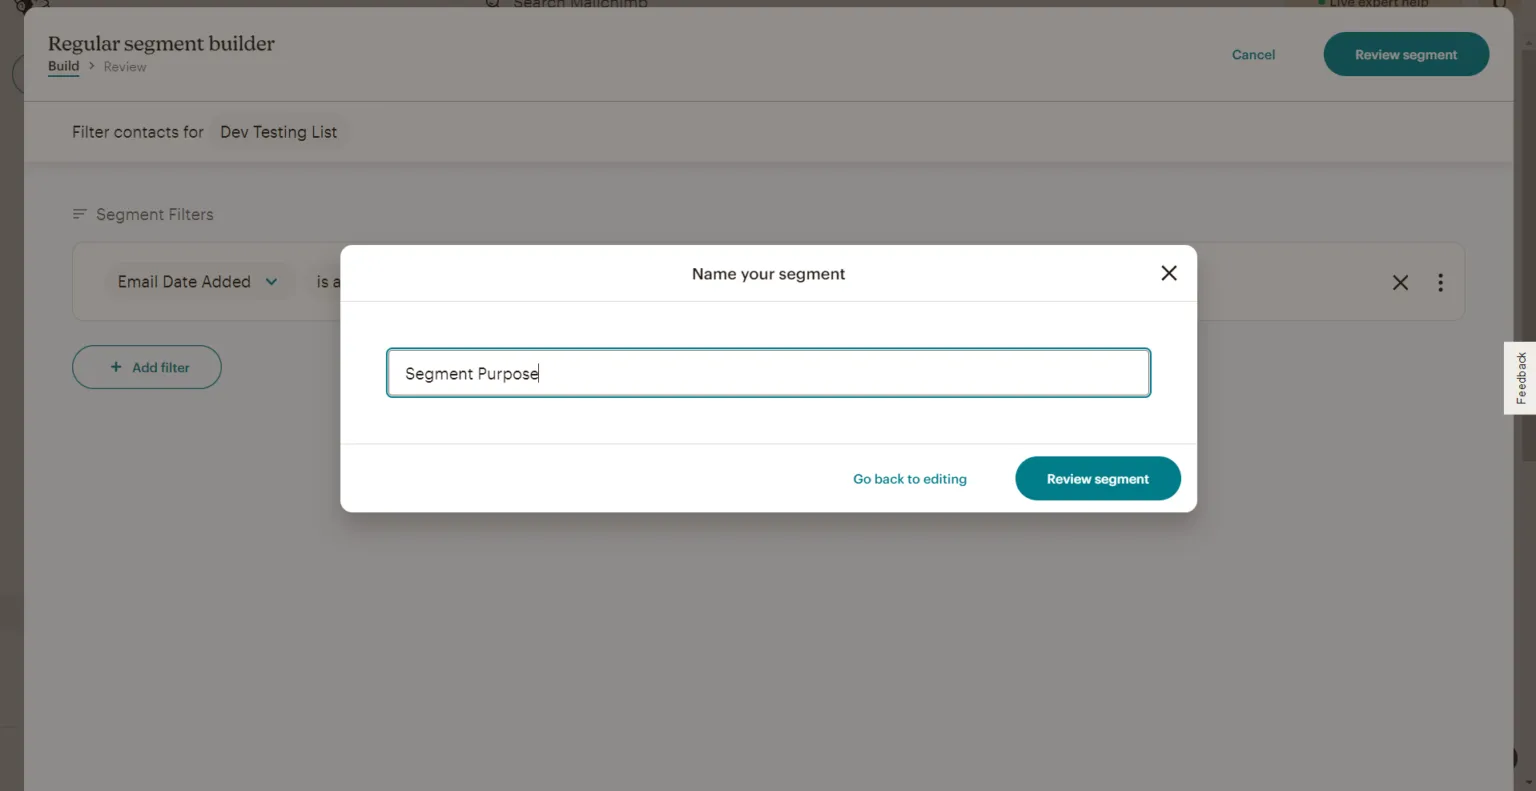
9. Select the segment to review.
It will create a simple regular segment.
Utilizing the Segments page for sending an email
1. Access the Segments Page
- Navigate to your email marketing platform’s dashboard.
- Click on the “Audience” tab, and then select “Segments” to view your list of segments.
2. Choose Your Audience:
- If you have multiple audiences, use the “Current audience” drop-down menu to select the one containing the segment you want to target.
3. Select the Segment:
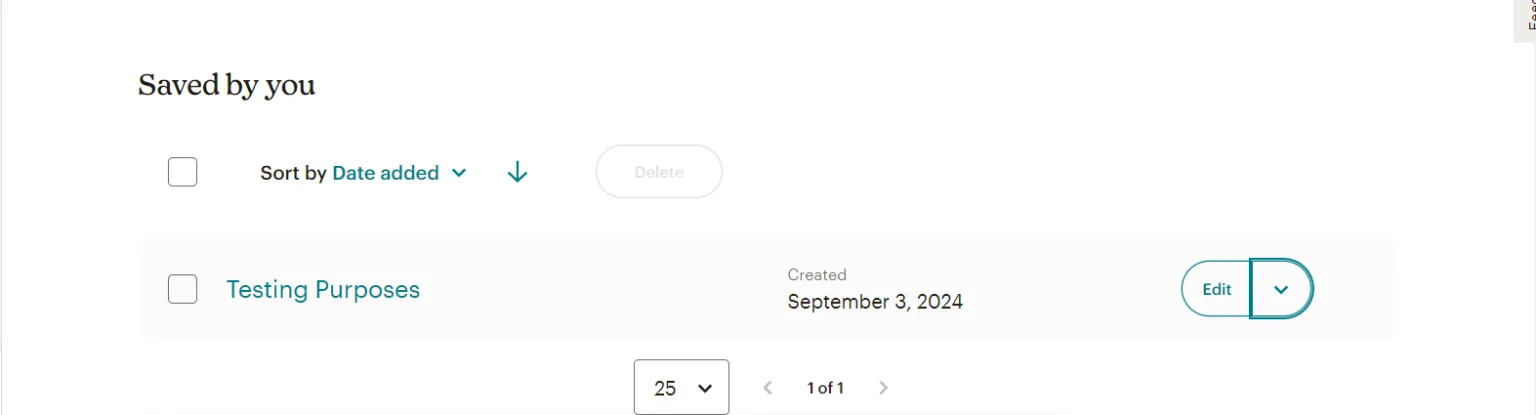
- In the “Saved by you” section, locate the segment you wish to email.
- Click the drop-down menu next to this segment to see the available options.
4. Decide on the Campaign Type:
- Send regular campaign: For a formatted, multimedia-rich email.
- Send plain-text campaign: For a simple, unformatted email.
- Send RSS campaign: To send automated updates based on an RSS feed.
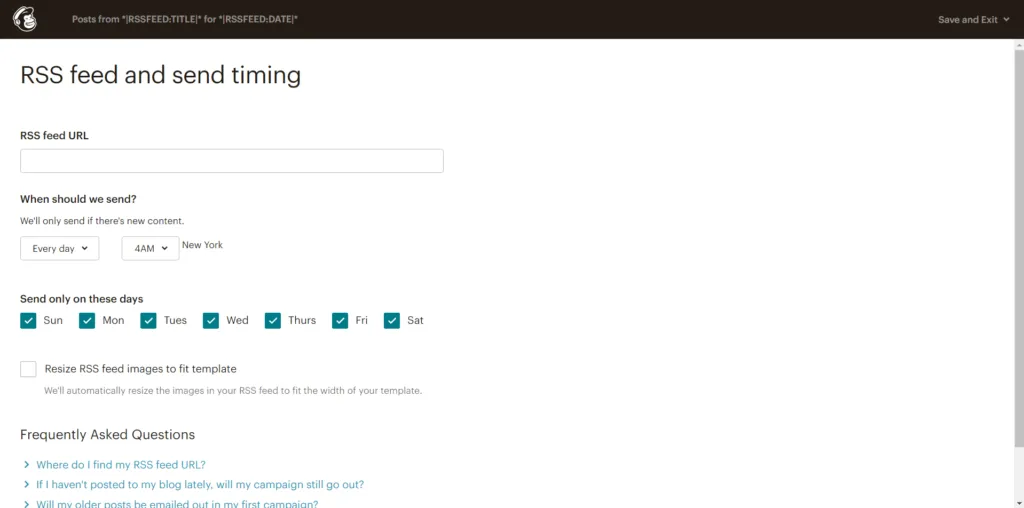
5. Complete the Email Setup:
- Follow the platform’s email checklist to configure your email content, subject line, and settings.
- Once everything is set, click “Send” to dispatch the email immediately or “Schedule” to set a future send date.
Conclusion
By utilizing the Segments page for sending an email, you can target your audience more effectively and increase the chances of your email being opened and read. It is a powerful tool that can help you improve your email marketing efforts and achieve your business goals.
Clean Code vs. Overengineering: Where Should Developers Draw the Line?
Clean code reduces unnecessary complexity; overengineering invents it. A practical guide to using context, evidence, and the cost of change to know when to stop adding abstractions...
Read More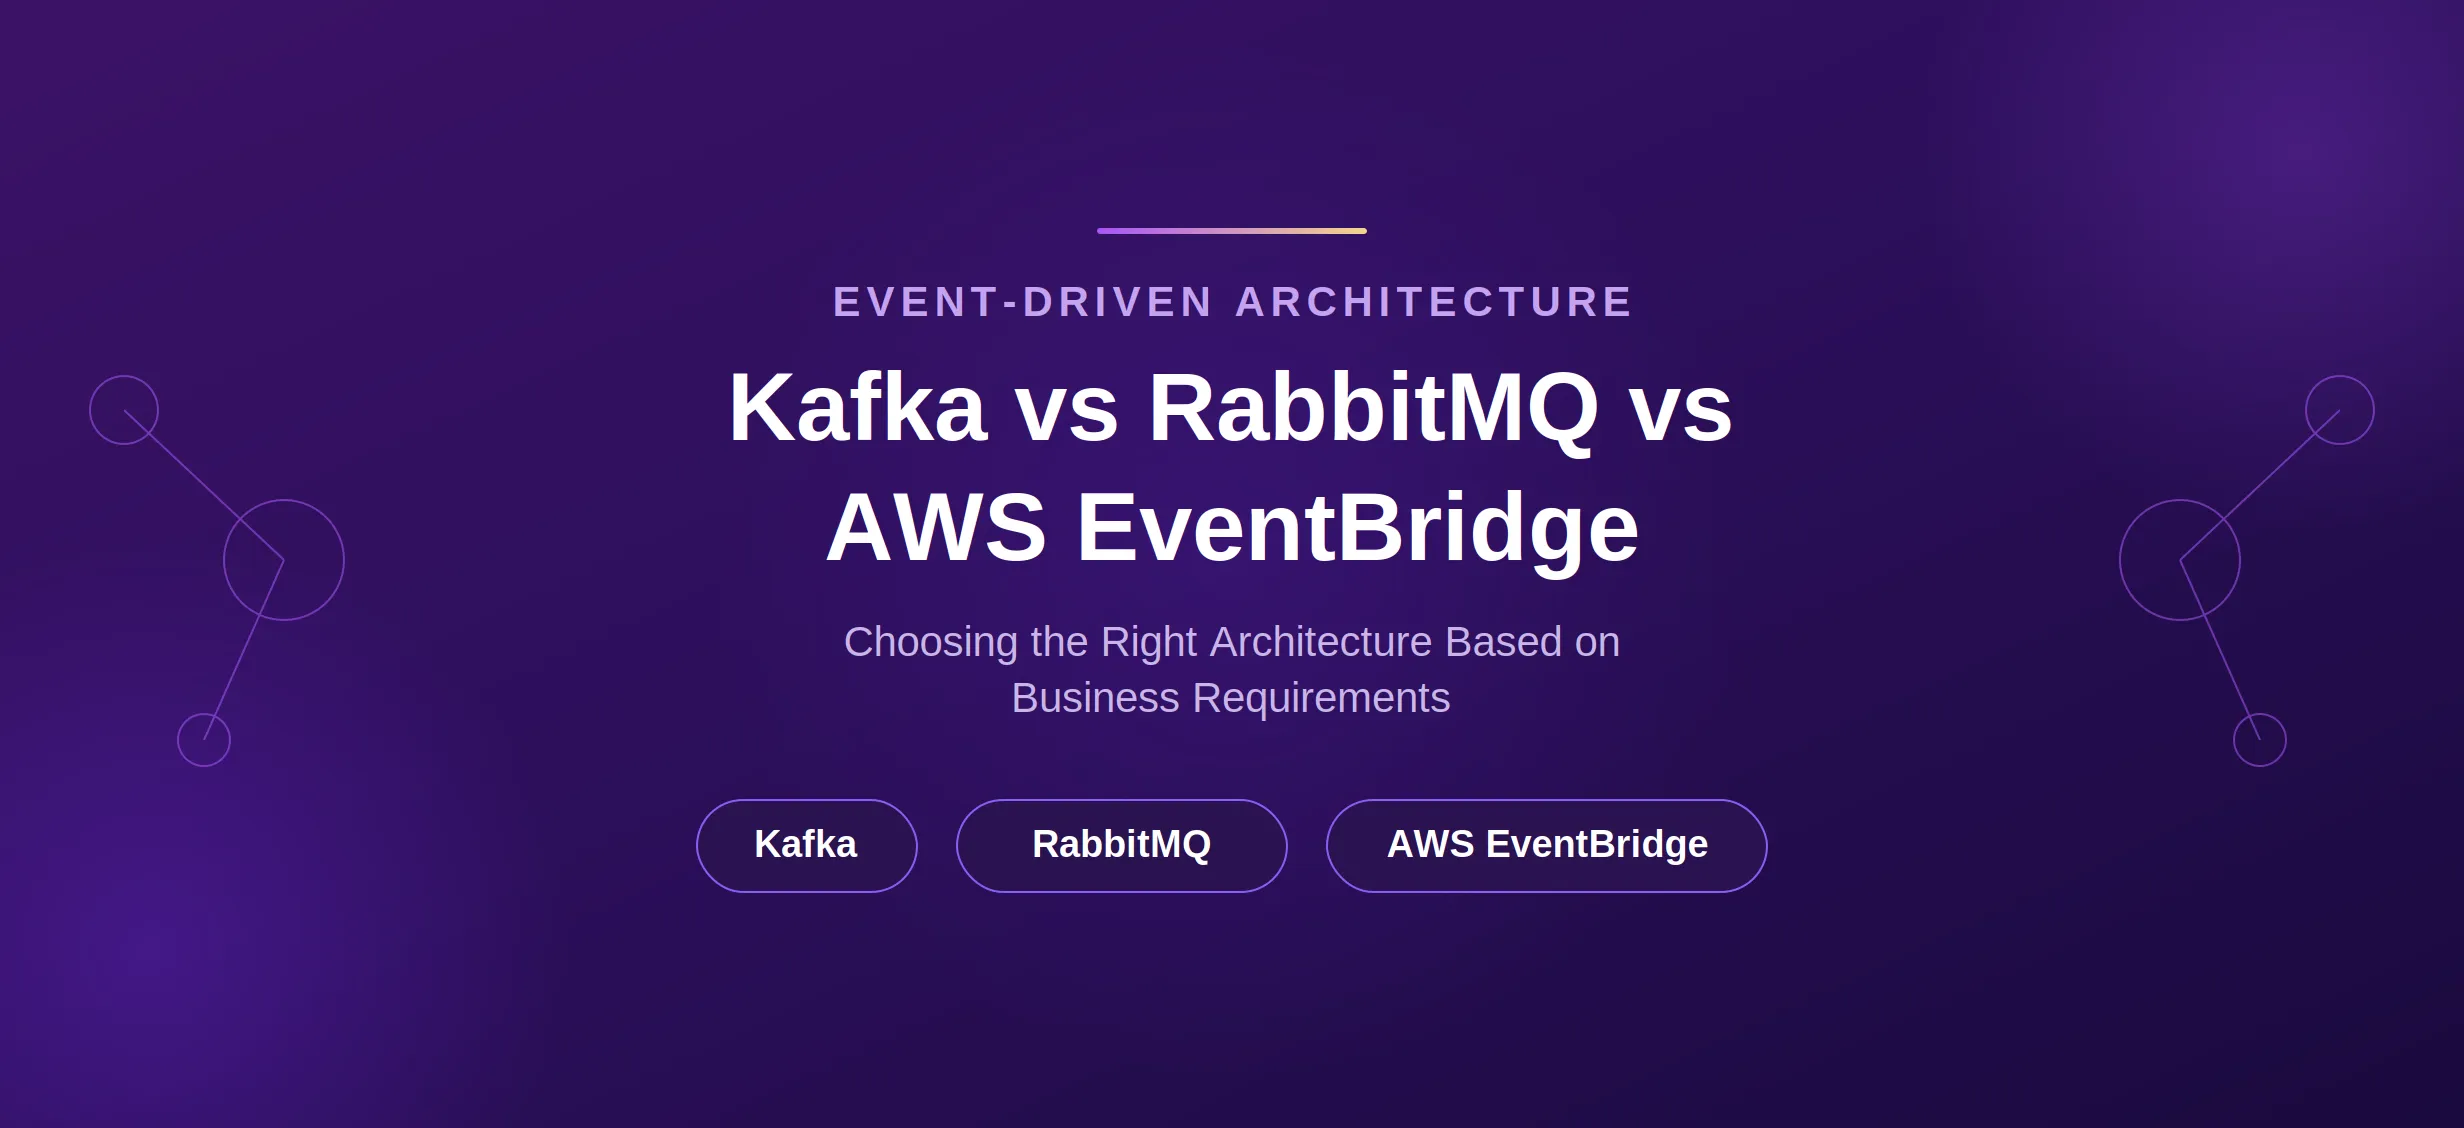
Kafka vs RabbitMQ vs AWS EventBridge: Choosing the Right Architecture Based on Business Requirements
Compare Kafka, RabbitMQ, and AWS EventBridge based on scalability, routing, event streaming, replay, infrastructure, and business requirements to choose the right architecture...
Read More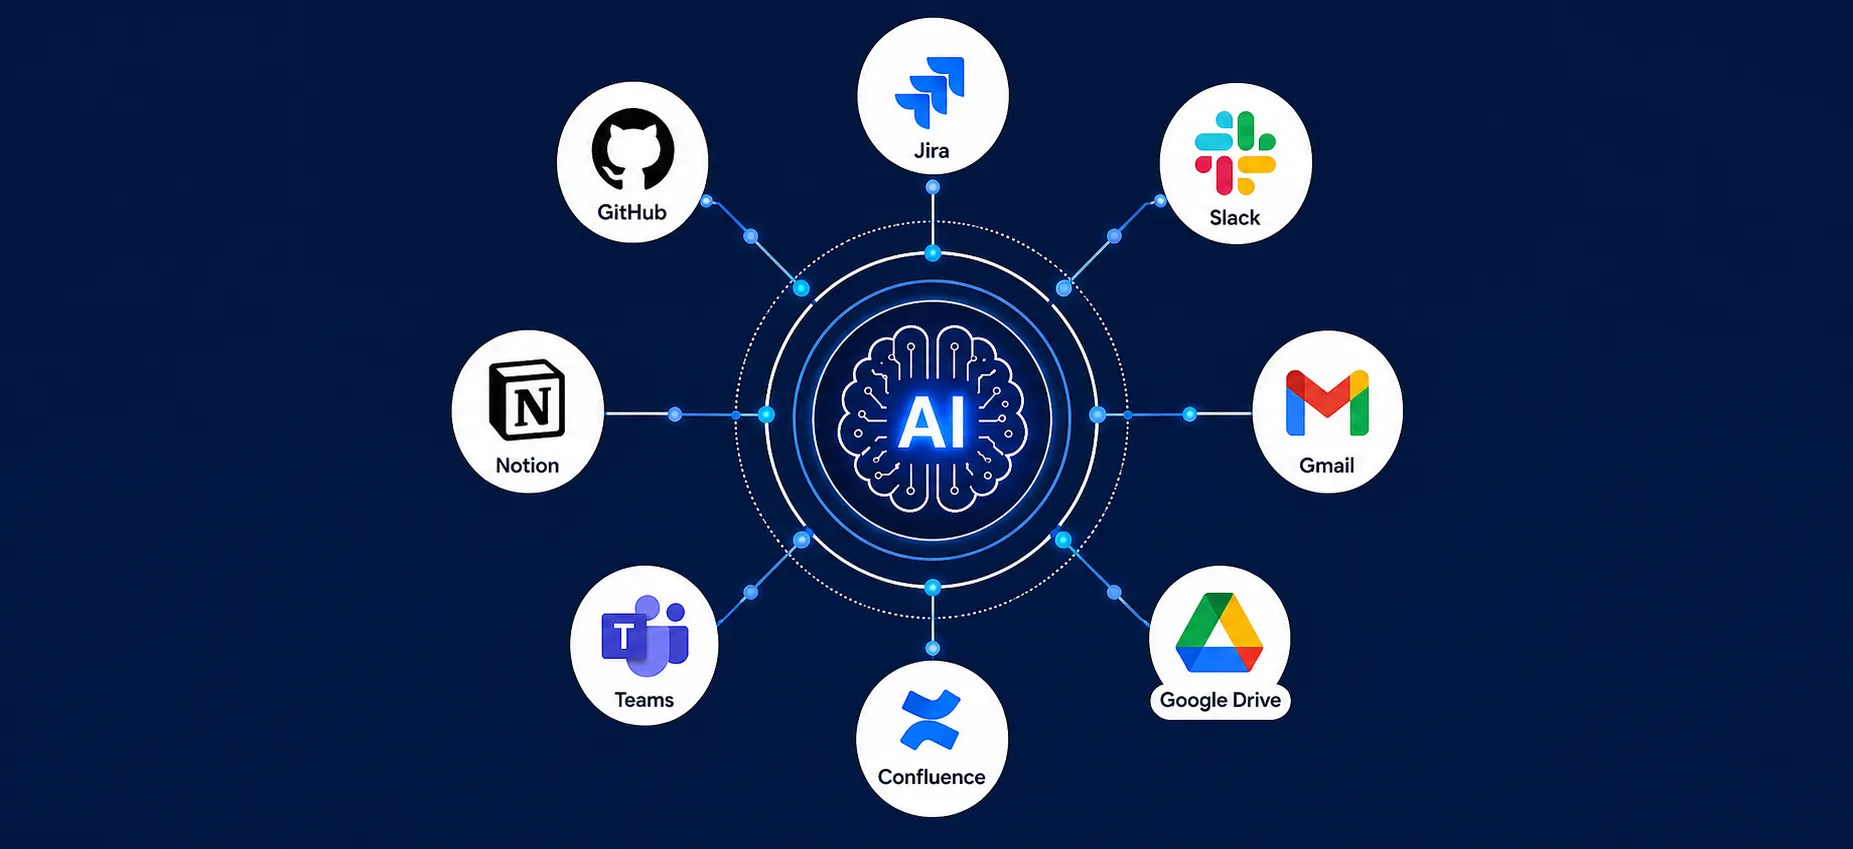
AI Integrations for QA Engineers
Learn how QA engineers can connect AI with Jira, GitHub, Slack, Notion and other tools to improve testing, bug tracking, reporting and QA productivity...
Read More
The Ultimate Guide to Amazon SES Setup with GoDaddy DNS
Learn how to set up Amazon SES with GoDaddy DNS. Complete step-by-step guide covering Easy DKIM, SPF, DMARC, custom MAIL FROM, and exiting the SES Sandbox...
Read More
AWS DevOps Agent Setup Guide with EC2
Learn how to set up AWS DevOps Agent with EC2, CloudWatch, IAM, and Agent Spaces for AI-assisted monitoring, incident investigation, and root-cause analysis...
Read More
Multi-Tenancy Patterns in DynamoDB: Silo, Pool, and Bridge Models
If you've already made the jump from a relational database to DynamoDB see our guide on moving relational data from SQL to DynamoDB...
Read More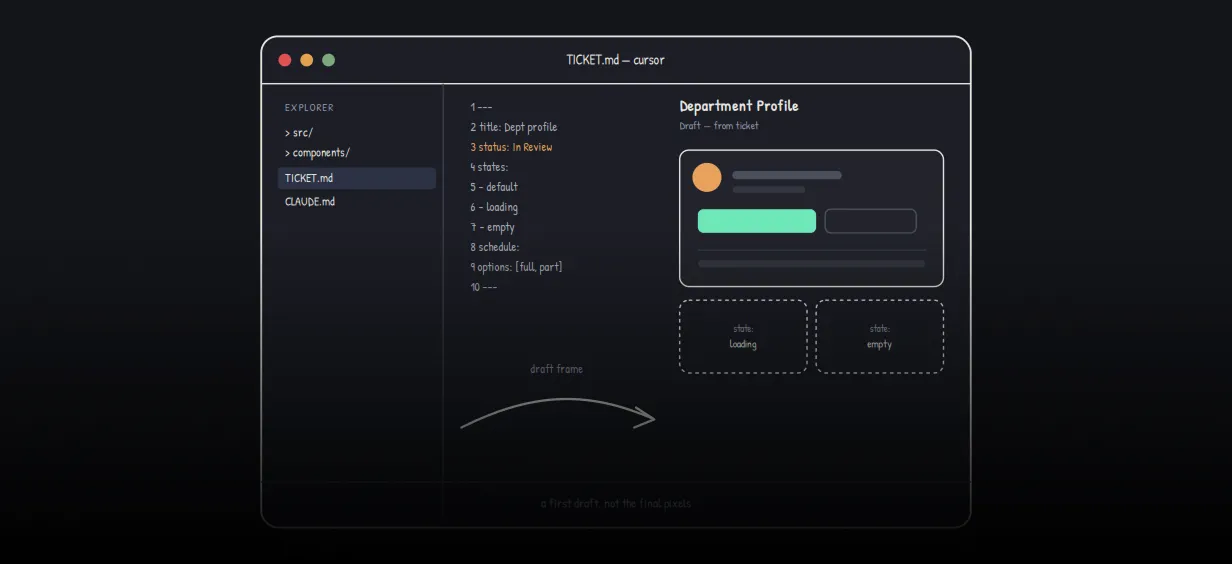
We stopped leaving the IDE to design. Here’s our Cursor → Figma flow
Cursor drafts fast, catches gaps early, and still clips fields and breaks layouts. Here's the real pros-and-cons breakdown of our workflow...
Read More
AWS DevOps Agent: How AI is Automating On-Call Incident Response
If you've ever been on call during a production outage, you know how stressful it can be. Alerts start firing, dashboards light up, and suddenly you're jumping between monitoring tools...
Read More
Catch Missing Images Before Deploy: A Simple Pre-Build Script for Next.js
How Omax Tech added a lightweight image validation gate to Next.js 15 builds on Vercel...
Read MoreReady to Work With Us?
Most engagements start with a 20-minute conversation. No pitch, no pressure - just an honest discussion about what you're building and whether we're the right fit.