
Boost Your Website’s Security: A Full Guide to Install TLS Certification

Introduction
In today’s online world, securing your website with a TLS (Transport Layer Security) certificate is essential. TLS encrypts data exchanged between your server and users, helping protect sensitive information such as passwords, credit card numbers, and personal data. Additionally, websites secured with HTTPS are favored by search engines and appear more trustworthy to users. In this guide, we will walk you through the steps of applying for a TLS certificate using Let’s Encrypt and Certbot, which is compatible with many web servers, including Nginx, Apache, and more.
What is TLS?
TLS (Transport Layer Security) is a cryptographic protocol that ensures secure communication between a server and a client (such as a web browser). TLS is widely used to protect the confidentiality and integrity of data transmitted over the internet, particularly in applications like web browsing, email, and instant messaging. When you see a website with HTTPS in the URL (as opposed to HTTP), it means that TLS is protecting the communication between your browser and the website.
Why is TLS Important?
- Encryption: TLS ensures that any sensitive data exchanged between users and your site (such as passwords, credit card information, or personal details) is encrypted, making it unreadable to attackers.
- Authentication: It helps verify that the website you’re communicating with is the legitimate one and not a fraudulent site.
- Data Integrity: TLS ensures that the data sent and received has not been altered during transmission, preventing tampering by malicious actors.
What is Let’s Encrypt?
Let’s Encrypt is a free, automated, and open certificate authority (CA) that provides digital certificates to enable HTTPS encryption on websites. Established in 2016, Let’s Encrypt aims to make internet security more accessible and widespread by offering free SSL/TLS certificates and automating the entire process.
What is Certbot?
Certbot is an open-source tool developed by the Electronic Frontier Foundation (EFF) that automates the process of obtaining and renewing TLS certificates from Let’s Encrypt. It is designed to work with various web servers, including Nginx, Apache, and others, making it easy to implement HTTPS on your website.
Why Should You Use TLS?
TLS (Transport Layer Security) ensures that the data transferred between your server and the user’s browser is encrypted, keeping sensitive information safe. Here’s why applying TLS to your site is crucial:
- Security: TLS protects your users’ data from hackers and malicious actors.
- SEO Benefits: Search engines like Google favor HTTPS-enabled sites, potentially improving your search rankings.
- Trust: Users are more likely to trust your website when they see the HTTPS padlock icon next to the URL
What You’ll Need Before You Begin
- A web server: This guide works with Nginx, Apache, and others.
- Root or sudo access to your server: You need administrative privileges to install and configure the necessary software.
- A registered domain name: Your domain should be pointing to your server’s IP address.
- A basic understanding of using the terminal or SSH: Some familiarity with command-line tools is required.
Steps to Install a TLS Certificate with Let’s Encrypt and Certbot
1. SSH to our Server
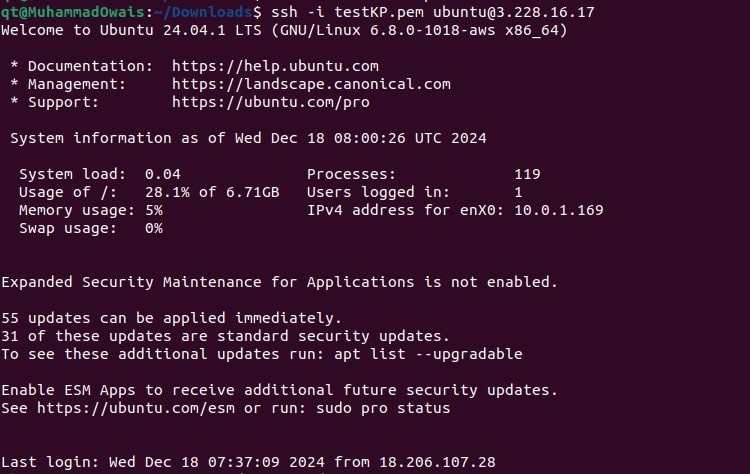
2. Install Snap Package Manager If Snap is not already installed on our server, we need to install it first.

3. Install Certbot Using Snap Now, we will install Certbot using the Snap package manager. This method ensures we get the latest version of Certbot.

4. Create a Symlink for Easy Access to Certbot After installing Certbot via Snap, create a symbolic link so that we can run the certbot command easily from anywhere without any issues.

5. Obtain the TLS Certificate Once Certbot is installed and the symlink is created, it’s time to request our TLS certificate. This process will also automatically configure the web server (in our case Nginx) to serve our site over HTTPS.

It will then ask some questions:
a. Your Email for certificate for notices:
We used a dummy email (test@test.com) as the intent was to create a tutorial.

b. Terms of Service:


c. Domain Name:
Finally, it will ask for our domain names (tlstutorial.ip-ddns.com) in our case. The domains can be more than one of
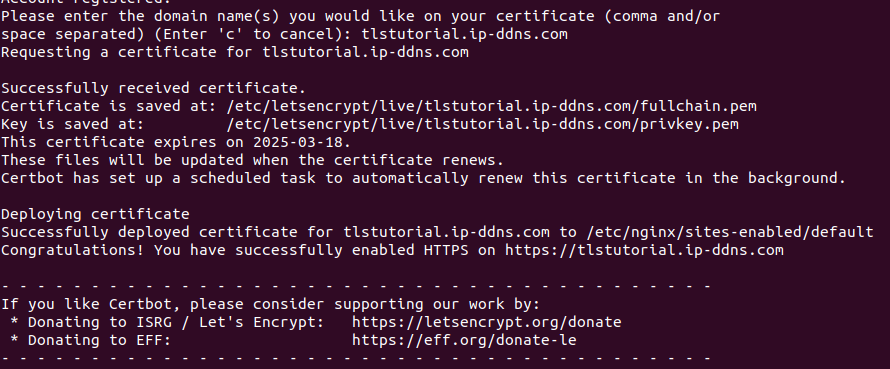
Here, we have successfully installed a TLS certificate for our website. But there’s one more step.
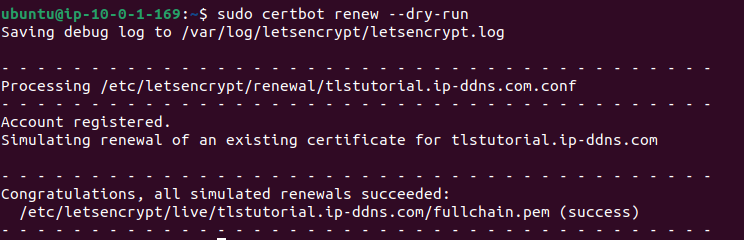
6. Test Automatic Renewal with Certbot Let’s Encrypt certificates are valid for 90 days, so it’s essential to automate the renewal process. Certbot allows for automatic renewals, and we can test this feature by running a dry-run to simulate the renewal process. This ensures that the renewal process will work correctly when our certificate is about to expire.
Website:
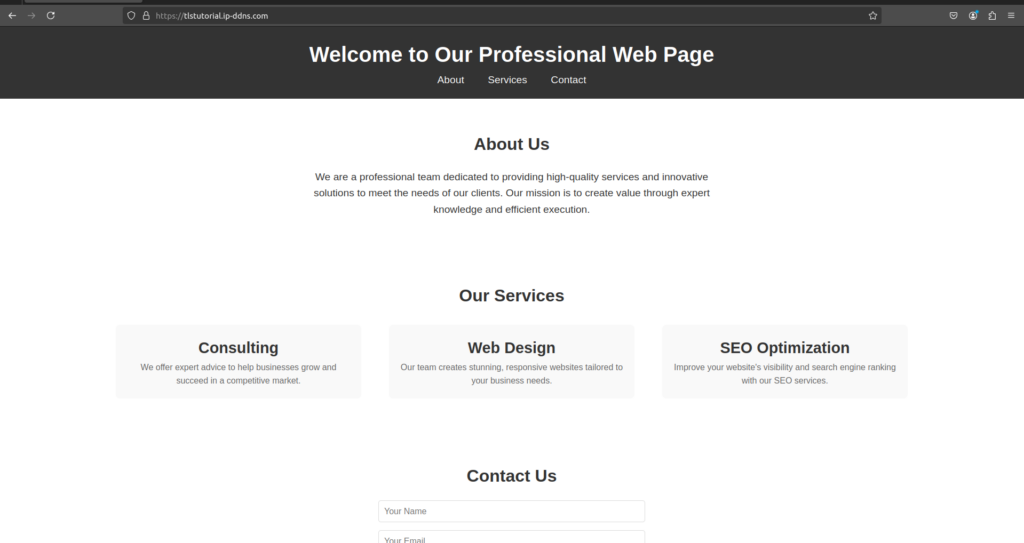
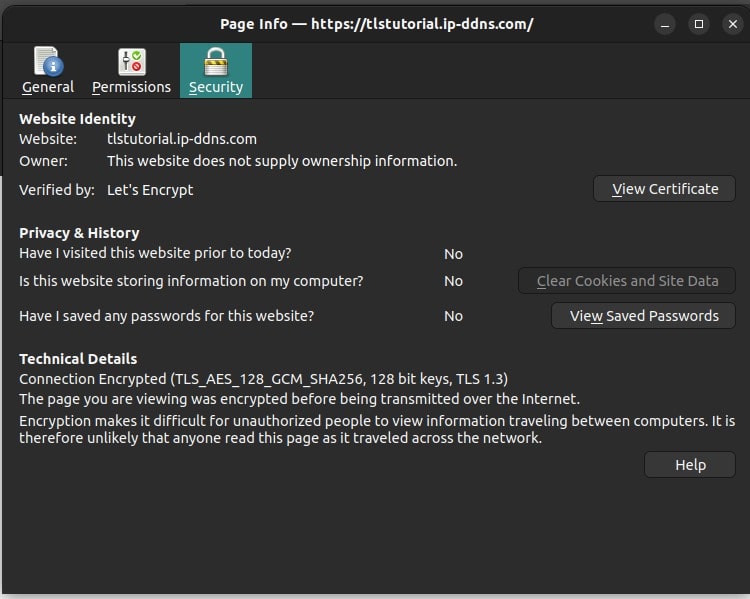
As we can see on the browser, we have been using HTTPS instead of HTTP. Below is further detail share about the certificate:
Conclusion
By following these custom steps, we’ve successfully secured our website using a TLS certificate from Let’s Encrypt with Certbot. The installation and renewal process is automated, ensuring that our website remains secure with minimal effort. With Nginx handling the web traffic, we now have a fully functioning HTTPS site, which improves both security and user trust.
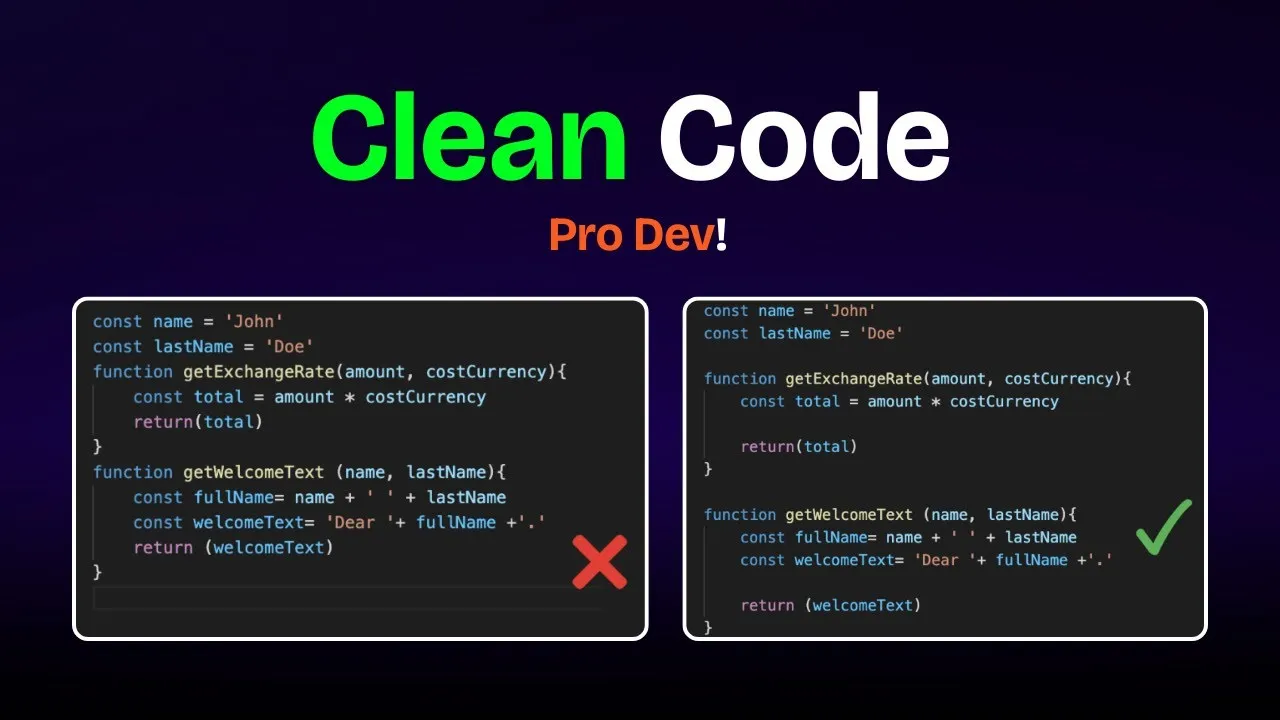
Clean Code vs. Overengineering: Where Should Developers Draw the Line?
Clean code reduces unnecessary complexity; overengineering invents it. A practical guide to using context, evidence, and the cost of change to know when to stop adding abstractions...
Read More
Kafka vs RabbitMQ vs AWS EventBridge: Choosing the Right Architecture Based on Business Requirements
Compare Kafka, RabbitMQ, and AWS EventBridge based on scalability, routing, event streaming, replay, infrastructure, and business requirements to choose the right architecture...
Read More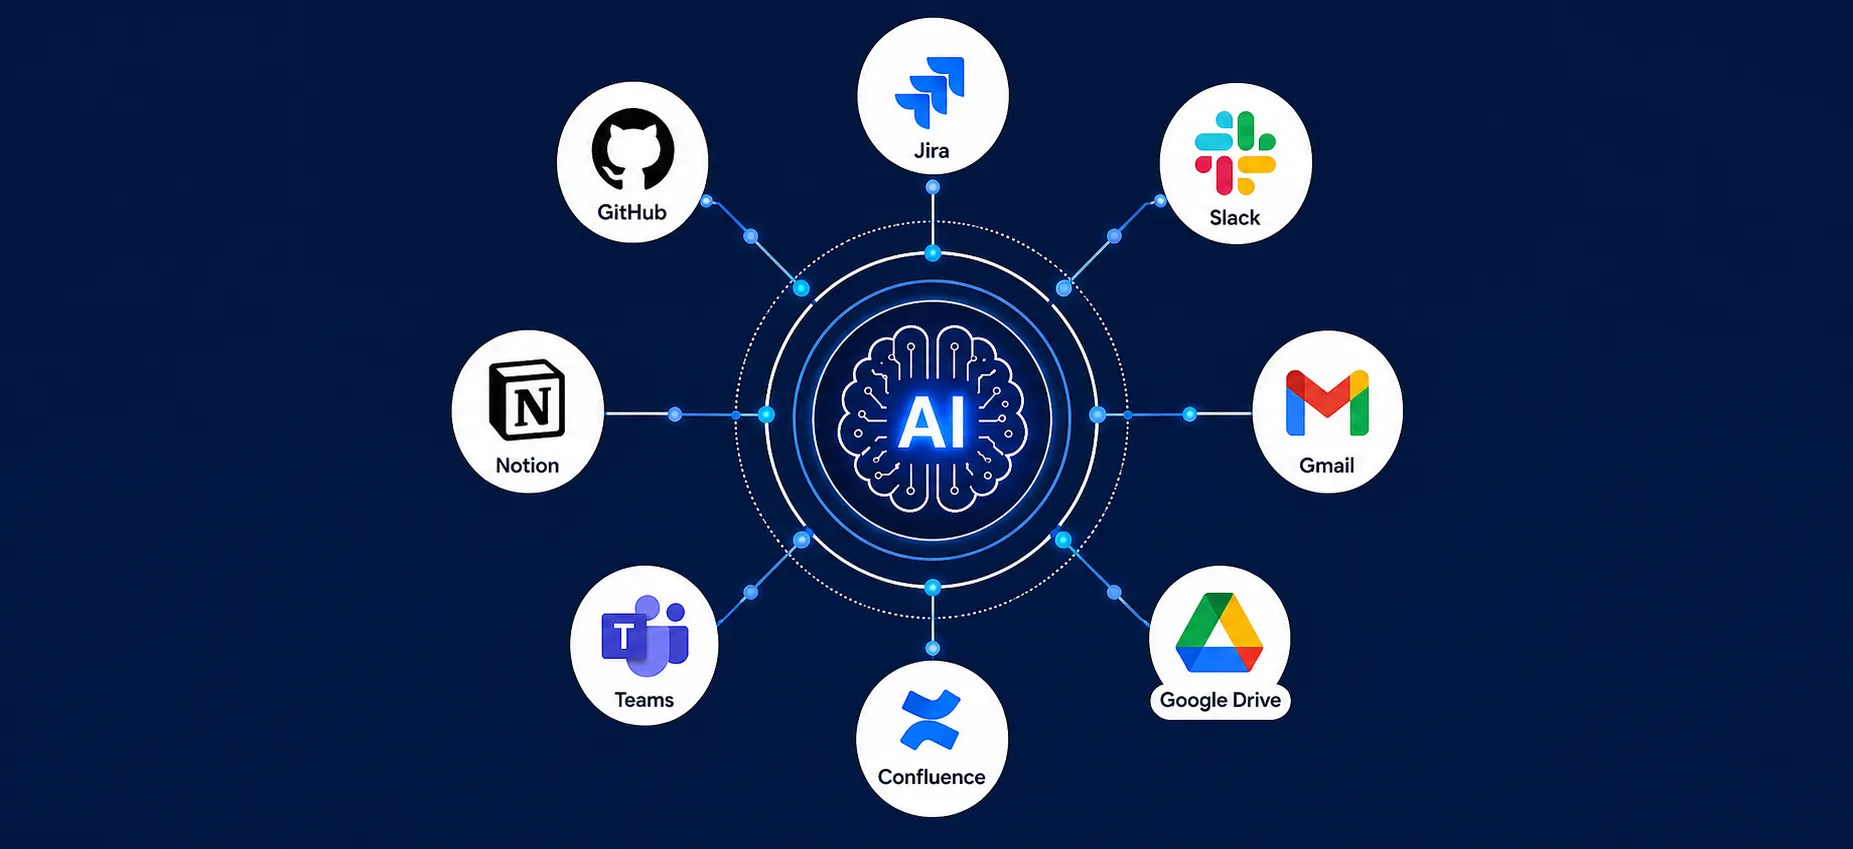
AI Integrations for QA Engineers
Learn how QA engineers can connect AI with Jira, GitHub, Slack, Notion and other tools to improve testing, bug tracking, reporting and QA productivity...
Read More
The Ultimate Guide to Amazon SES Setup with GoDaddy DNS
Learn how to set up Amazon SES with GoDaddy DNS. Complete step-by-step guide covering Easy DKIM, SPF, DMARC, custom MAIL FROM, and exiting the SES Sandbox...
Read More
AWS DevOps Agent Setup Guide with EC2
Learn how to set up AWS DevOps Agent with EC2, CloudWatch, IAM, and Agent Spaces for AI-assisted monitoring, incident investigation, and root-cause analysis...
Read More
Multi-Tenancy Patterns in DynamoDB: Silo, Pool, and Bridge Models
If you've already made the jump from a relational database to DynamoDB see our guide on moving relational data from SQL to DynamoDB...
Read More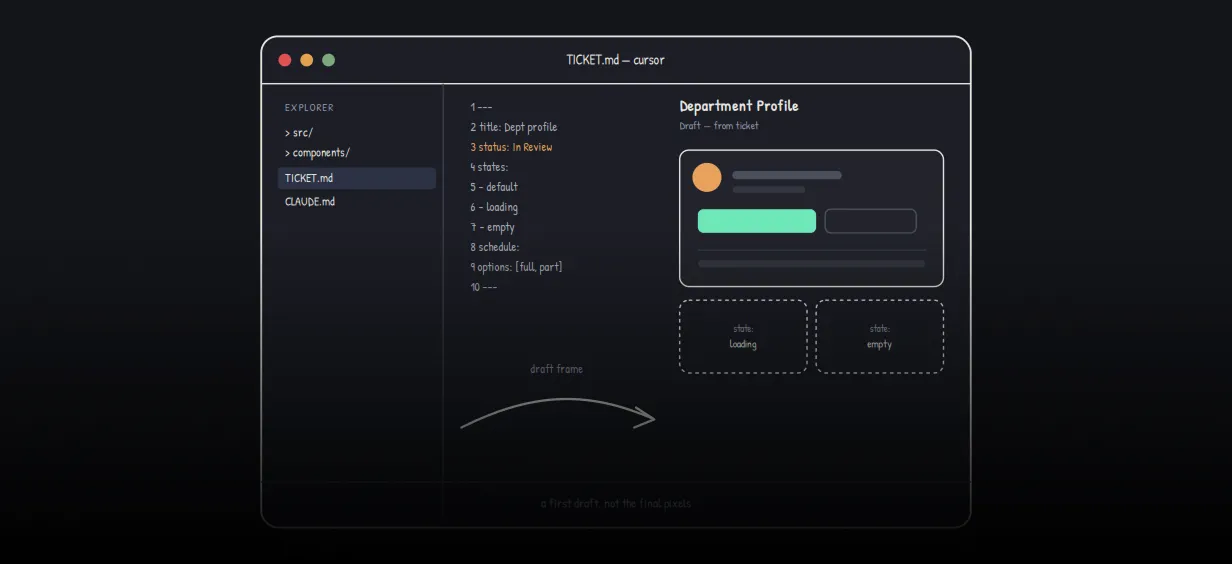
We stopped leaving the IDE to design. Here’s our Cursor → Figma flow
Cursor drafts fast, catches gaps early, and still clips fields and breaks layouts. Here's the real pros-and-cons breakdown of our workflow...
Read More
AWS DevOps Agent: How AI is Automating On-Call Incident Response
If you've ever been on call during a production outage, you know how stressful it can be. Alerts start firing, dashboards light up, and suddenly you're jumping between monitoring tools...
Read More
Catch Missing Images Before Deploy: A Simple Pre-Build Script for Next.js
How Omax Tech added a lightweight image validation gate to Next.js 15 builds on Vercel...
Read MoreReady to Work With Us?
Most engagements start with a 20-minute conversation. No pitch, no pressure - just an honest discussion about what you're building and whether we're the right fit.