Powering Asynchronous Messaging: Integrating RabbitMQ with Spring Boot on Windows

Introduction
In today’s microservice-driven architectures, handling communication between different services is a critical task. Instead of relying on synchronous HTTP requests, message brokers like RabbitMQ offer a more scalable, reliable, and efficient way to handle asynchronous messaging. In this blog, we’ll explore how to integrate RabbitMQ with Spring Boot, focusing on seamless communication and the power of message-driven systems—all on a Windows setup.
Why RabbitMQ?
Before diving into the technical details, let’s quickly look at why RabbitMQ is widely adopted. RabbitMQ is a mature, open-source message broker that allows different services to communicate with each other through message queues. This approach offers a decoupled system where producers (the services sending messages) and consumers (the services receiving and processing them) can function independently of each other, improving fault tolerance and scalability.
With that context in mind, let’s get our hands dirty and integrate RabbitMQ with Spring Boot.
Setting Up Your Spring Boot Project
First things first—let’s get a Spring Boot project up and running. The quickest way to start is using Spring Initializr. Go ahead and create a new Spring Boot project with the following dependencies:
- Spring Web - for exposing REST endpoints.
- Spring Boot Starter AMQP – for integrating RabbitMQ.
Here’s what your pom.xml should contain for these dependencies:
1<dependencies>2 <dependency>3 <groupId>org.springframework.boot</groupId>4 <artifactId>spring-boot-starter-amqp</artifactId>5 </dependency>67 <dependency>8 <groupId>org.springframework.boot</groupId>9 <artifactId>spring-boot-starter-web</artifactId>10 </dependency>11</dependencies>
Configuring RabbitMQ in Spring Boot
RabbitMQ requires some configuration to let Spring Boot know where it is and how to connect to it. By default, RabbitMQ listens on localhost:5672, which is perfect for local development. You can configure these details in your application.properties file located in the src/main/resources folder:
1spring.rabbitmq.host=localhost2spring.rabbitmq.port=56723spring.rabbitmq.username=guest4spring.rabbitmq.password=guest
Declaring RabbitMQ Queues, Exchanges, and Bindings
In RabbitMQ, messages are sent to exchanges that route the messages to one or more queues based on routing rules. To define our message flow, we need to declare a queue, an exchange, and the binding between them.
Create a configuration class to declare these components:
1import org.springframework.amqp.core.*;2import org.springframework.context.annotation.Bean;3import org.springframework.context.annotation.Configuration;45@Configuration6public class RabbitMQConfig {7 public static final String QUEUE_NAME = "myQueue";8 public static final String EXCHANGE_NAME = "myExchange";9 public static final String ROUTING_KEY = "myRoutingKey";1011@Bean12public RabbitTemplate rabbitTemplate(ConnectionFactory connectionFactory) {13 RabbitTemplate rabbitTemplate = new RabbitTemplate(connectionFactory);14 rabbitTemplate.setMessageConverter(new Jackson2JsonMessageConverter());15 return rabbitTemplate;16}1718@Bean19public RabbitListenerContainerFactory<?> rabbitListenerContainerFactory(ConnectionFactory connectionFactory) {20 SimpleRabbitListenerContainerFactory factory = new SimpleRabbitListenerContainerFactory();21 factory.setConnectionFactory(connectionFactory);22 factory.setMessageConverter(new Jackson2JsonMessageConverter());23 return factory;24}252627 @Bean28 public Queue queue() {29 return new Queue(QUEUE_NAME, true);30 }3132 @Bean33 public TopicExchange exchange() {34 return new TopicExchange(EXCHANGE_NAME);35 }3637 @Bean38 public Binding binding(Queue queue, TopicExchange exchange) {39 return BindingBuilder.bind(queue).to(exchange).with(ROUTING_KEY);40 }41}
Here’s what’s happening:
- Queue: We’re declaring a durable queue named myQueue. Messages sent to this queue persist even if RabbitMQ restarts.
- Exchange: We’re using a TopicExchange, which routes messages to the queue based on a routing key. This enables flexible routing patterns, especially in more complex setups.
Binding: The queue is bound to the exchange with a routing key, myRoutingKey. This ensures that messages with the matching routing key get routed to our queue.
Producing Messages to RabbitMQ
With the configuration in place, let’s create a producer that sends messages to RabbitMQ. Spring Boot makes it simple to send messages via RabbitTemplate. Here’s how you can create a service that acts as a message producer:
import org.springframework.amqp.rabbit.core.RabbitTemplate;import org.springframework.beans.factory.annotation.Autowired;import org.springframework.stereotype.Service;@Servicepublic class RabbitMQSender {@Autowiredprivate RabbitTemplate rabbitTemplate;public void sendMessage(String message) {rabbitTemplate.convertAndSend(RabbitMQConfig.EXCHANGE_NAME, RabbitMQConfig.ROUTING_KEY, message);System.out.println("Message sent: " + message);}}
In this example, the RabbitMQSender class sends a message to the myExchange exchange, using the specified routing key. The RabbitTemplate handles the actual message conversion and dispatch to RabbitMQ.
Consuming Messages from RabbitMQ
Next, let’s set up a consumer to process the messages that our producer sends. RabbitMQ consumers listen to a queue and process any incoming messages. We can create a simple message listener using @RabbitListener.
Here’s how we can implement it:
1import org.springframework.amqp.rabbit.annotation.RabbitListener;2import org.springframework.stereotype.Service;34@Service5public class RabbitMQReceiver {67 @RabbitListener(queues = RabbitMQConfig.QUEUE_NAME)8 public void receiveMessage(String message) {9 System.out.println("Message received: " + message);10 }11}
This RabbitMQReceiver listens to myQueue. When a message is received, it gets processed in the receiveMessage method, and the content is logged to the console.
Exposing a REST API to Trigger Message Sending
Now that we have the producer and consumer ready, let’s expose an endpoint that will allow us to send messages via HTTP. This step ties together our messaging flow with a REST API.
Create a simple REST controller that triggers the message producer:
1import org.springframework.beans.factory.annotation.Autowired;2import org.springframework.web.bind.annotation.GetMapping;3import org.springframework.web.bind.annotation.RequestParam;4import org.springframework.web.bind.annotation.RestController;56@RestController7public class RabbitMQController {89 @Autowired10 private RabbitMQSender rabbitMQSender;1112 @GetMapping("/send")13 public String sendMessage(@RequestParam String message) {14 rabbitMQSender.sendMessage(message);15 return "Message sent: " + message;16 }17}
Here, the /send endpoint takes a query parameter (message) and sends it to RabbitMQ. The producer immediately forwards the message to the queue, and the consumer will pick it up for processing.
Conclusion
Integrating RabbitMQ with Spring Boot on a Windows machine is a straightforward process, and the benefits are tremendous. With RabbitMQ handling your messaging infrastructure, you get reliability, scalability, and flexibility in how your services communicate asynchronously. You’ve now set up a basic message-driven system, which can be scaled further by using advanced features like different exchange types, message routing, and queue durability settings.
Message-driven communication is the backbone of many modern, distributed systems. Whether you’re building microservices or a monolithic application that needs to handle asynchronous processes, RabbitMQ provides a powerful, easy-to-use solution. Now, go ahead and experiment with different messaging patterns—your applications will thank you for it!
Clean Code vs. Overengineering: Where Should Developers Draw the Line?
Clean code reduces unnecessary complexity; overengineering invents it. A practical guide to using context, evidence, and the cost of change to know when to stop adding abstractions...
Read More
Kafka vs RabbitMQ vs AWS EventBridge: Choosing the Right Architecture Based on Business Requirements
Compare Kafka, RabbitMQ, and AWS EventBridge based on scalability, routing, event streaming, replay, infrastructure, and business requirements to choose the right architecture...
Read More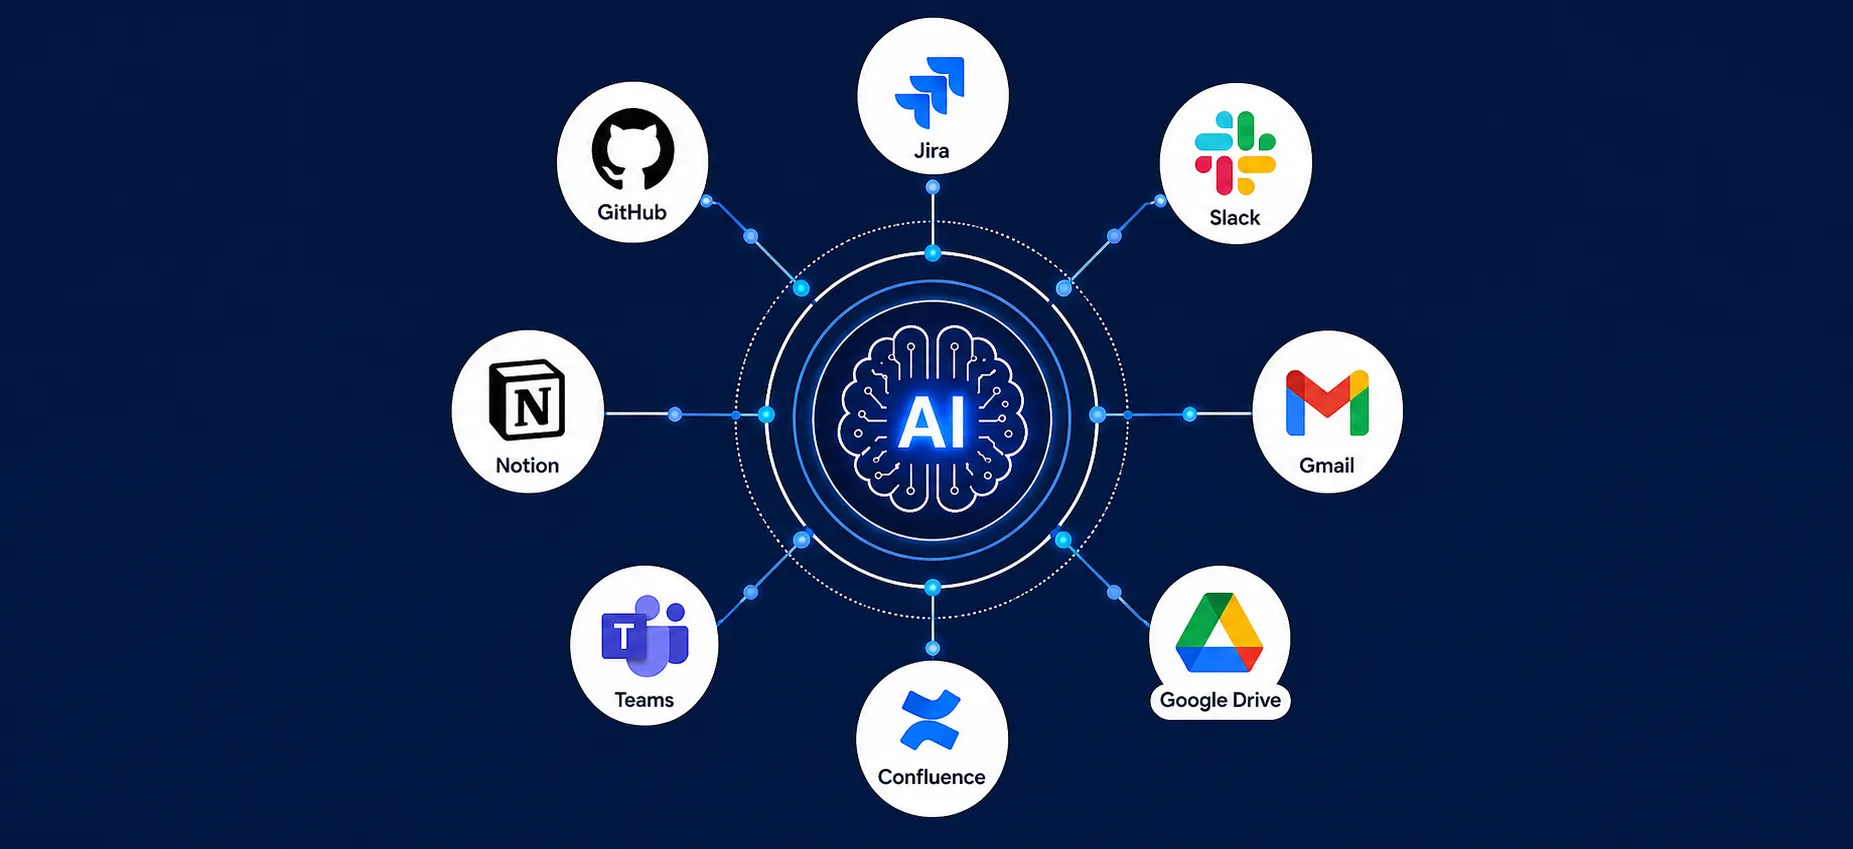
AI Integrations for QA Engineers
Learn how QA engineers can connect AI with Jira, GitHub, Slack, Notion and other tools to improve testing, bug tracking, reporting and QA productivity...
Read More
The Ultimate Guide to Amazon SES Setup with GoDaddy DNS
Learn how to set up Amazon SES with GoDaddy DNS. Complete step-by-step guide covering Easy DKIM, SPF, DMARC, custom MAIL FROM, and exiting the SES Sandbox...
Read More
AWS DevOps Agent Setup Guide with EC2
Learn how to set up AWS DevOps Agent with EC2, CloudWatch, IAM, and Agent Spaces for AI-assisted monitoring, incident investigation, and root-cause analysis...
Read More
Multi-Tenancy Patterns in DynamoDB: Silo, Pool, and Bridge Models
If you've already made the jump from a relational database to DynamoDB see our guide on moving relational data from SQL to DynamoDB...
Read More
We stopped leaving the IDE to design. Here’s our Cursor → Figma flow
Cursor drafts fast, catches gaps early, and still clips fields and breaks layouts. Here's the real pros-and-cons breakdown of our workflow...
Read More
AWS DevOps Agent: How AI is Automating On-Call Incident Response
If you've ever been on call during a production outage, you know how stressful it can be. Alerts start firing, dashboards light up, and suddenly you're jumping between monitoring tools...
Read More
Catch Missing Images Before Deploy: A Simple Pre-Build Script for Next.js
How Omax Tech added a lightweight image validation gate to Next.js 15 builds on Vercel...
Read MoreReady to Work With Us?
Most engagements start with a 20-minute conversation. No pitch, no pressure - just an honest discussion about what you're building and whether we're the right fit.